Week 6 of the hallway makeover and what a week!!!! It was finally time to start putting this hallway back together, beginning with adding striped carpet to the stairs and landing. Such a relief to get the prep work and painting out of the way and start working on the fun stuff!! Everyone in the One Room Challenge will be revealing their finished rooms here in only two weeks’ time. I’m not quite sure I’ll get it finished in time, but you’d never know! Fingers crossed!
This blog post may contain affiliate links
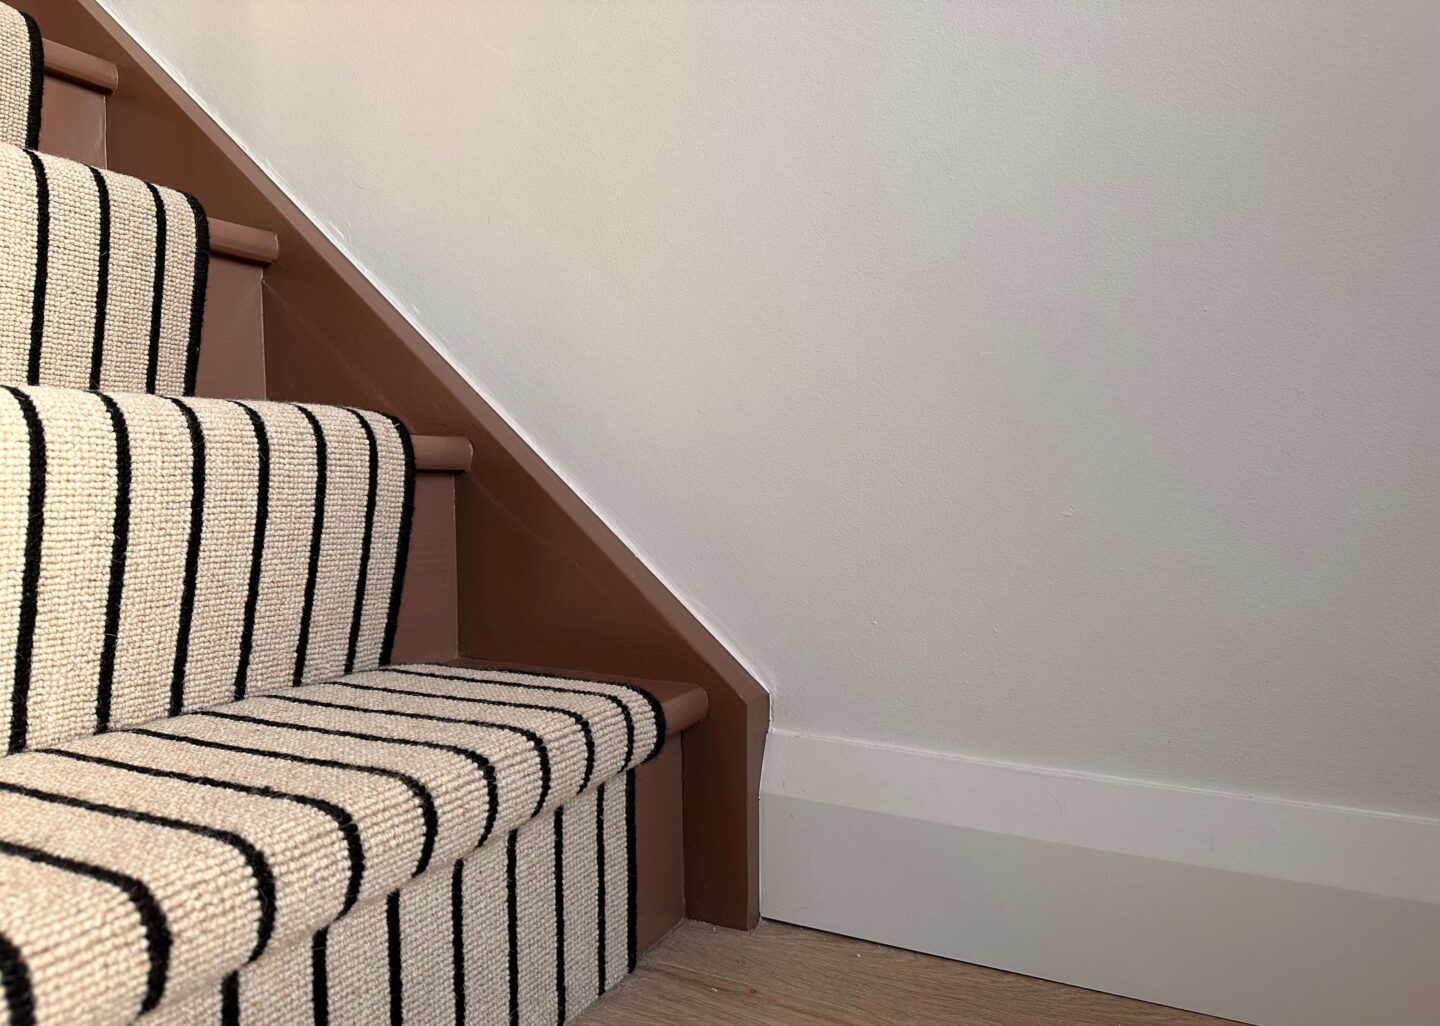
The Carpet
Weirdly enough, making the decision for the carpet was easy. This was because, after gathering lots of inspiration pictures on Pinterest, I really wanted to have a striped carpet. It turns out there is not much choice in Ireland for a striped runner. Brilliant for me really, as I tend to really overthink everything! The second I saw this striped carpet; I knew it was meant to be!
I chose to simply bind the edges with thread instead of a decorative cloth. I wanted the black edging to look like another stripe (I had to make this very clear to the binder!). Plus, it worked out as the cheapest type of edging so happy days!
The carpet is wool and it’s called The Riverside Stripe by Hugh Mackay Carpets. Our local carpet supplier sells the Hugh Mackay brand – I think most places do. We didn’t want the stripes to continue onto the landing, so we opted to go with the matching cream. They put down a very thick underlay and it has made a massive difference. It’s so comfy to walk on!
Honestly, the runner looks absolutely stunning on the stairs and ABSOLUTELY worth the risk of going with stripes. I’m only giving you a sneak peek here – but I can’t wait to show you the full thing soon!
The Cabinet
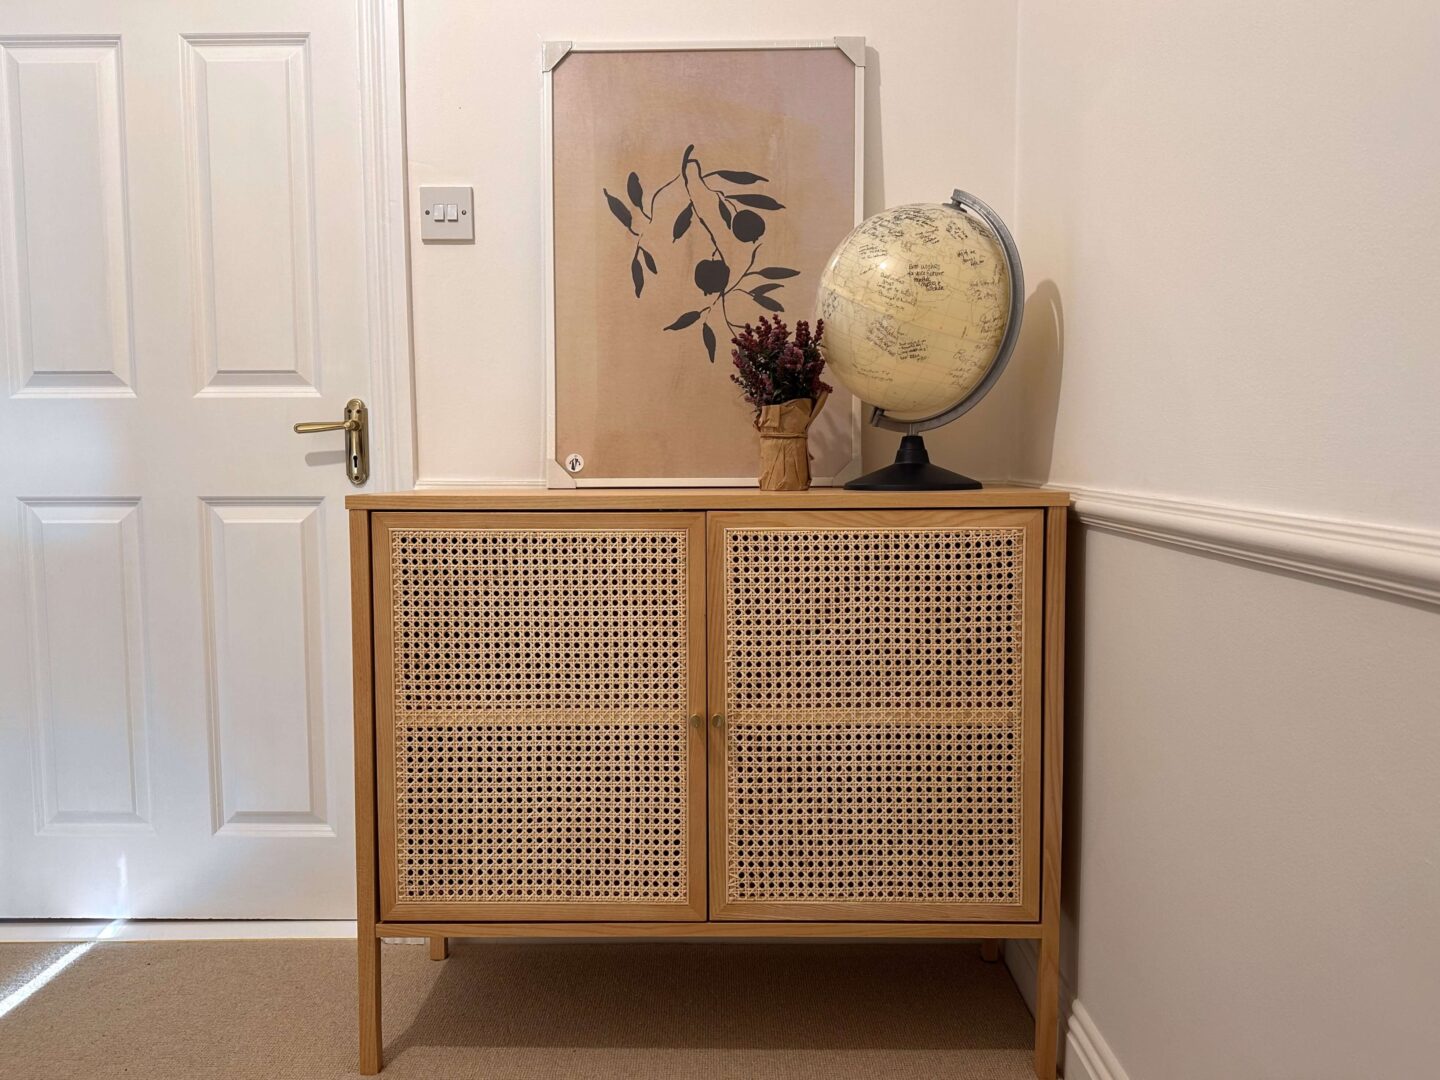
When I collected this cabinet from Jysk, the box stunk up the car. I’m not sure why – maybe it was a wood glue smell. I was worried that the smell would remain, but I’m happy to say that the second it got aired, the smell disappeared. This cabinet looks like solid wood, but there are some parts on the inside that are MDF laminate. This makes it a much cheaper option.
I’m loving having wooden furniture here – especially when pretty much everything else is painted! Love that it has rattan doors too! I’m not finished styling it, but I’m so happy to see our globe here – it will definately be staying. This globe was actually our wedding guest book – we asked people to sign their names or leave messages on the globe instead of in a book! I’m currently trying to decide on a small lamp for here. I’m between this gorgeous gold one and this fun scalloped one!
The Front Door
The door got one coat of paint this week in Peat Basket by Colourtrend. It’s tricky to get a time to do the second coat because we need to be painting it really early in the day. This is so it can stay open long enough to fully dry before locking up for the night! 😂
We also decided to change the letterbox….another thing to add to the list!
The Gallery Wall
The plan is to have a big gallery wall in the downstairs area of the hallway. I have started putting together some ideas for placement, frame colour (going to go with gold, white and light wood) as well as the actual art pieces. It’s going to take a bit of time to put it all together, but I think it will look brilliant!
Catch up on the progress here:
The mood board: Week 1
Prep: Week 2
More prep: Week 3
Painting the walls: Week 4
Painting the stairs: Week 5
Stay tuned next week to see a starting on panelling the side of the staircase or maybe the radiator cover. I haven’t actually decided which one to tackle first!