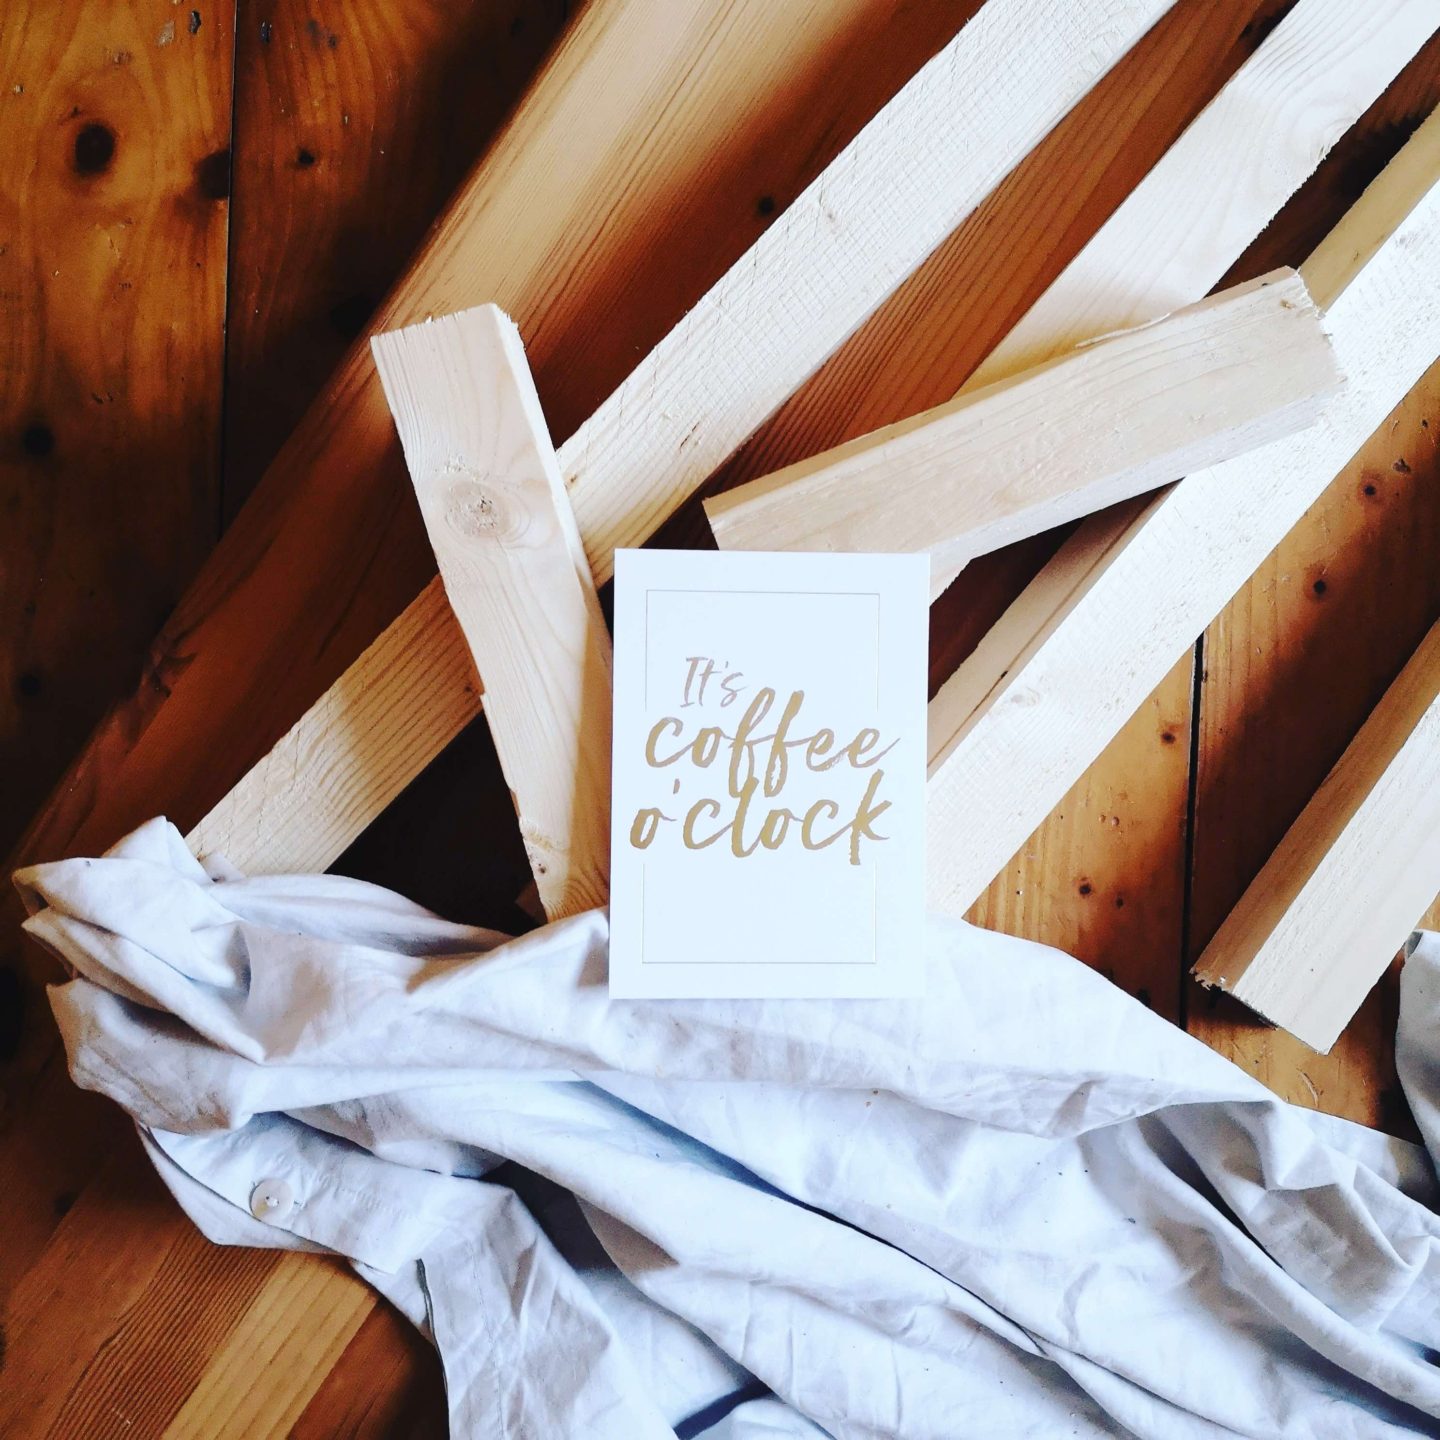
Every guestroom needs a double bed, right? As our current guestroom is about to become my husband’s music room, I needed to quickly convert the single bed base in the guestroom into a double. I was delighted that the One Room Challenge began just at the right time for me to join in and give me the motivation needed to complete this room sooner rather than later!
Here’s a little reminder of what it looked like in the beginning. The built in single bed just feels so solid and grounded, that I didn’t want to rip it out. So the plan was to add a little extension to the side of it, big enough that a double mattress could sit right on top.


Step 1
I bought a four pack of 5x5cm rough sawn timber boards and after a lot of measuring, cut the boards in order to make three separate frames that will hold the mattress up. This mitre box was so handy to ensure the cut was straight. Just make sure that the mark you make when measuring, lines up exactly to the placeholder of your saw as you can see below. P.S. my hand was falling off me at the end of cutting all the pieces!! Lucky you if you have an electric saw! 🙂


Step 2
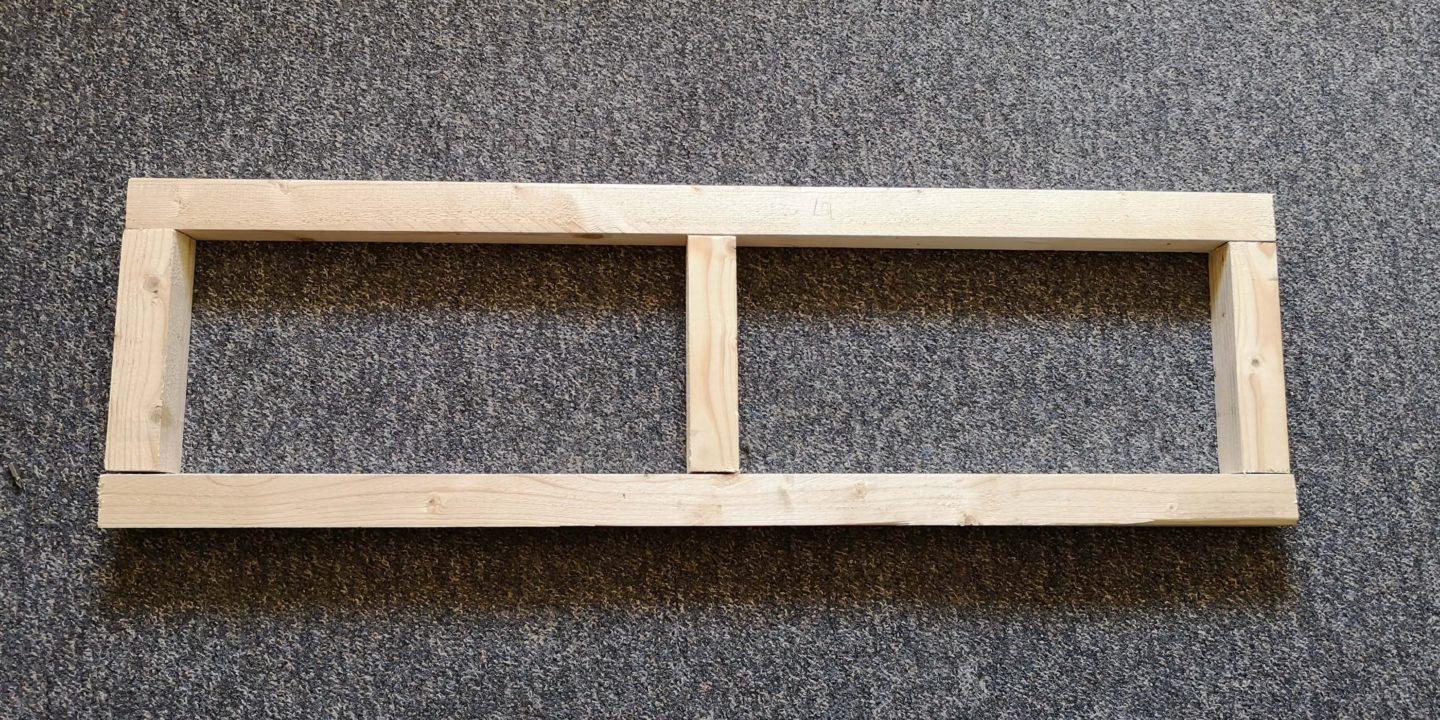
Once all the pieces were cut out, I assembled each frame on the ground the make sure they all fitted together perfectly.
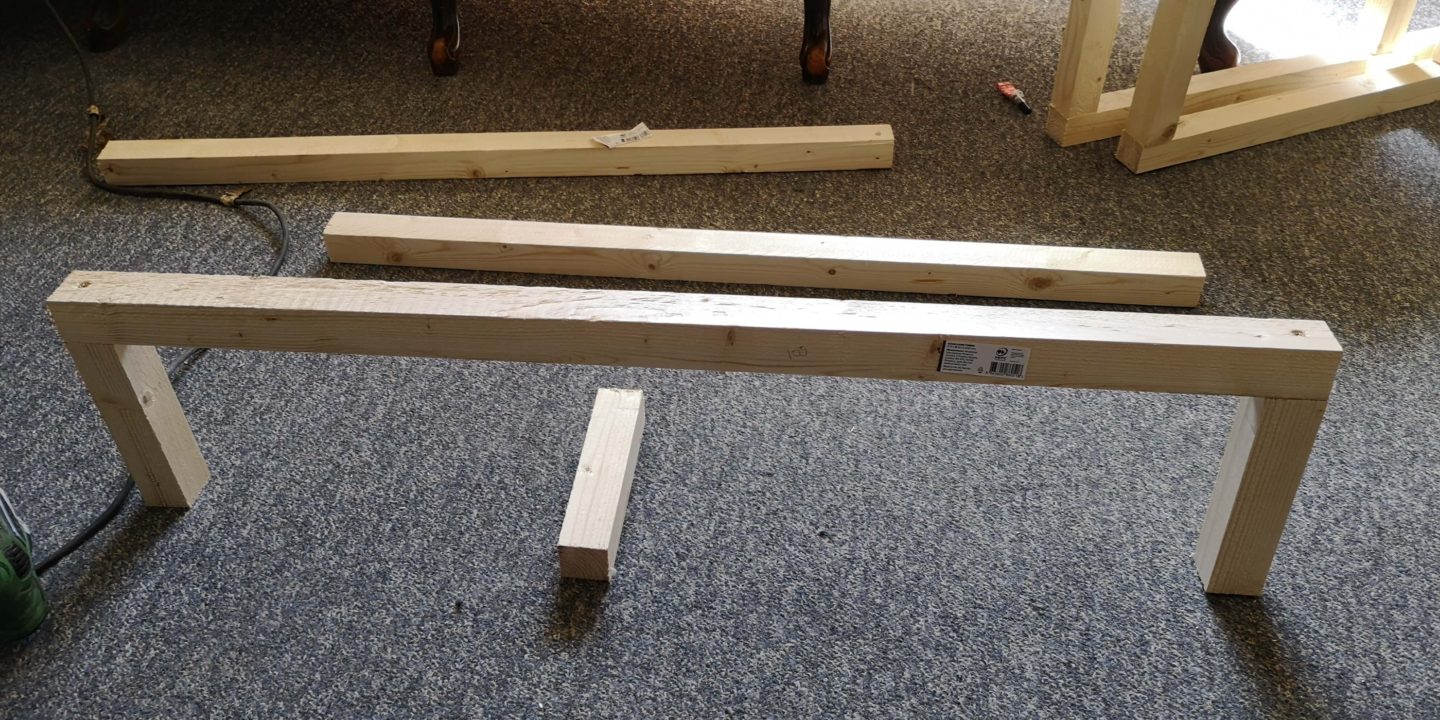
I then stood the edge pieces up and laid one long plank on top. This ensured I could attach the wood pieces together easily, using wood screws.
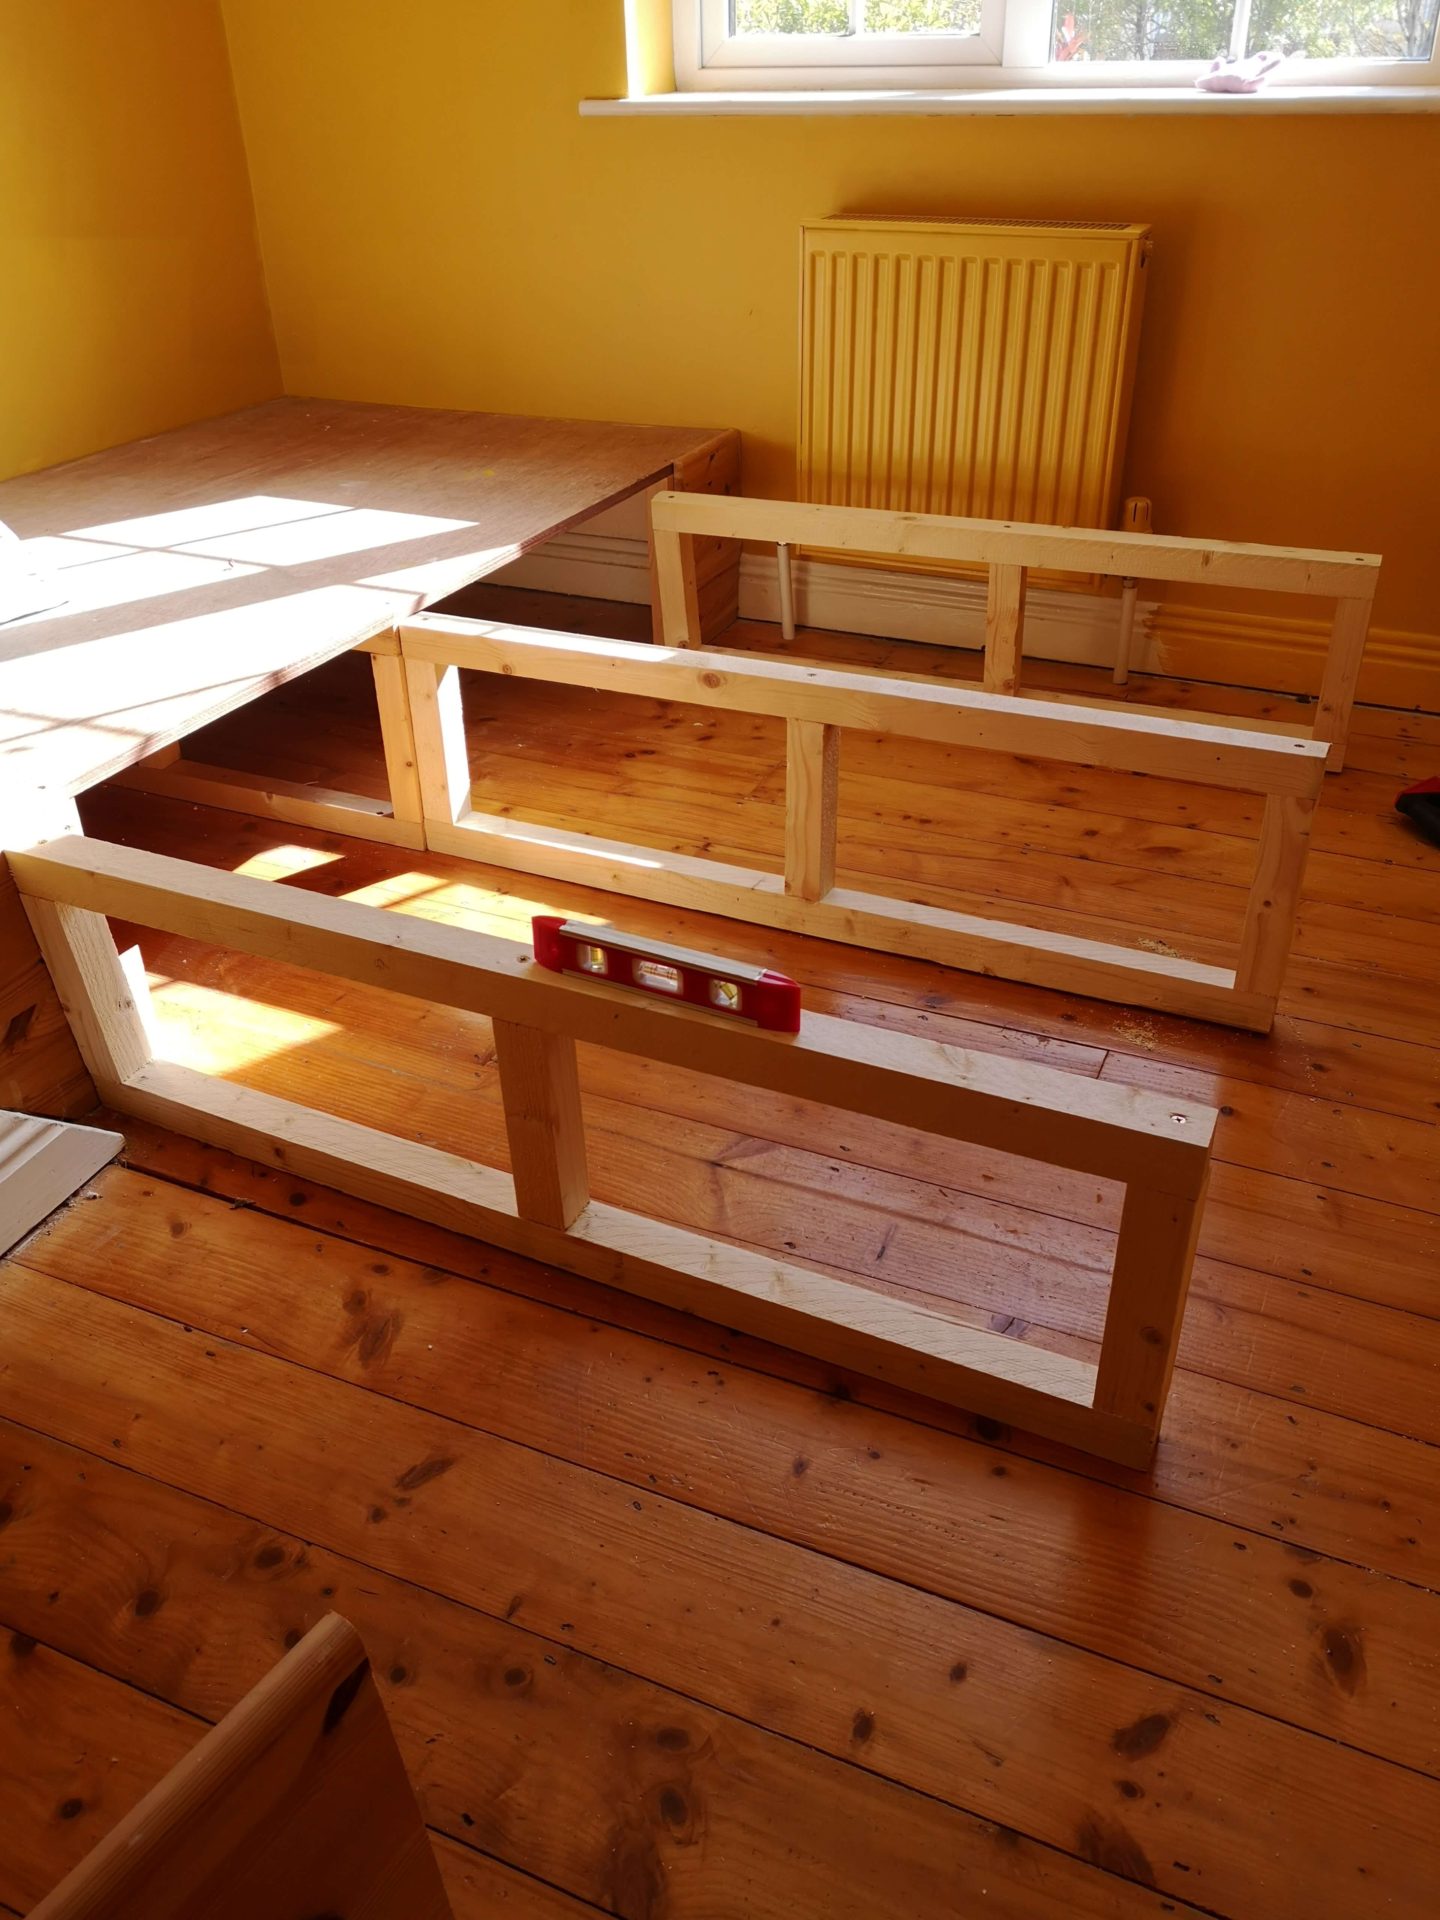
I made three frames in total and attached to the original bed base. I still wasn’t convinced about the sturdiness of them, so I also screw them down into the wooden floor. Here’s hoping I never have to remove them! I have to say, my battery powered drill was struggling a little here. I had to stop and charge it a few times. An electric drill would have been great – I seriously need to start updating the toolbox!! 😉
Step 3


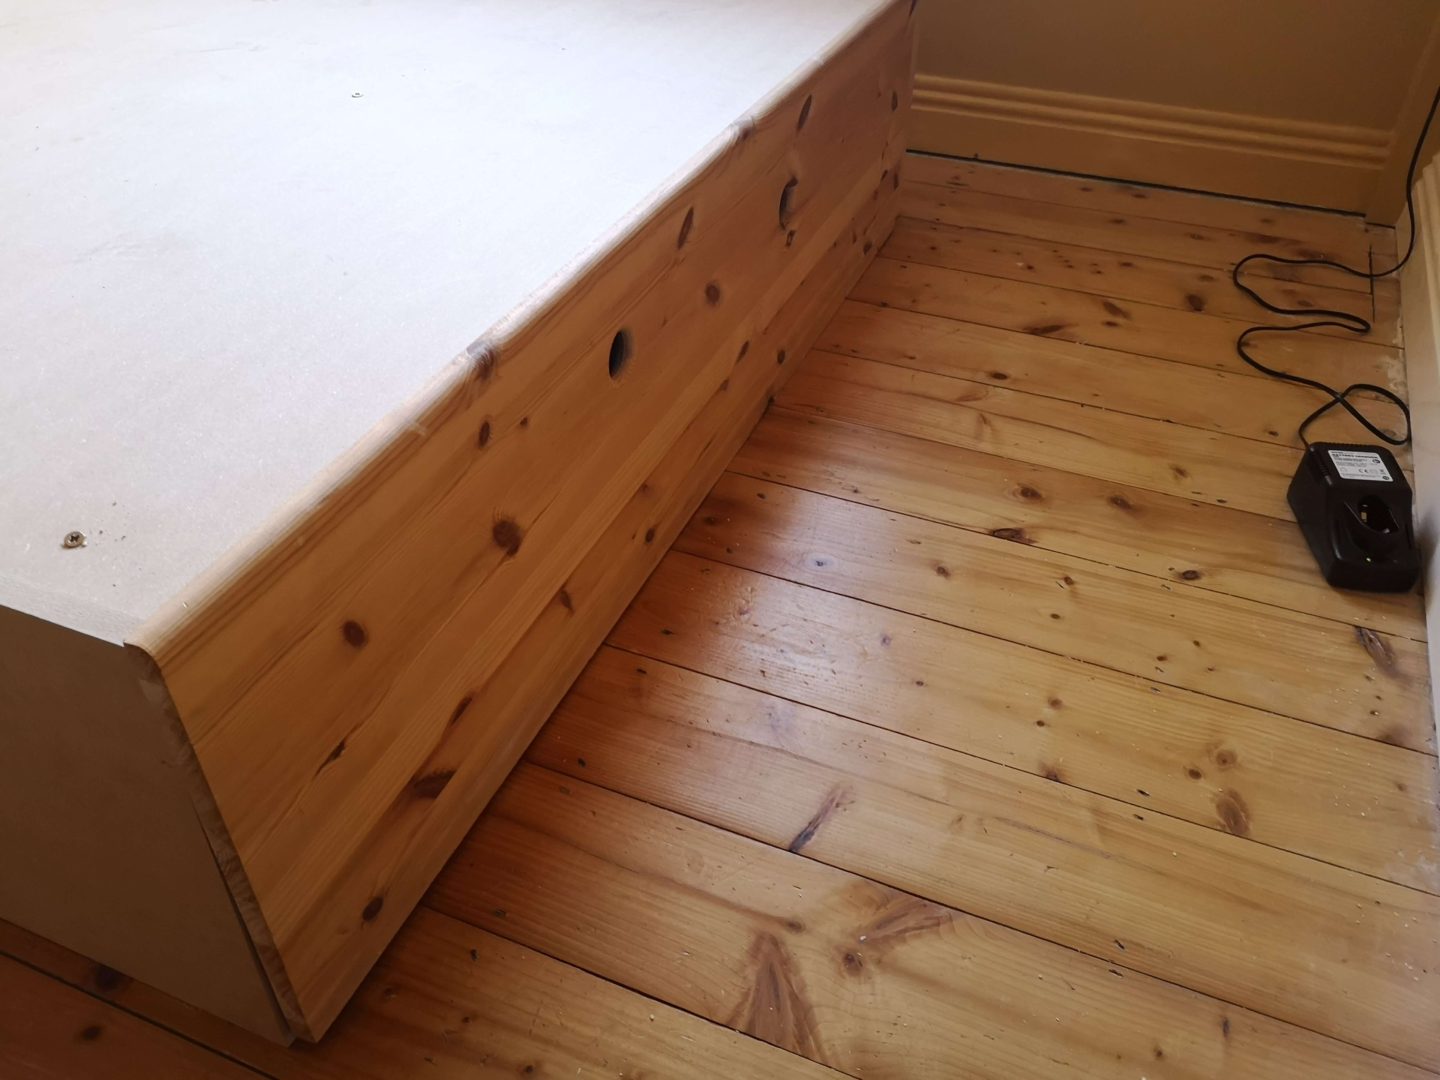
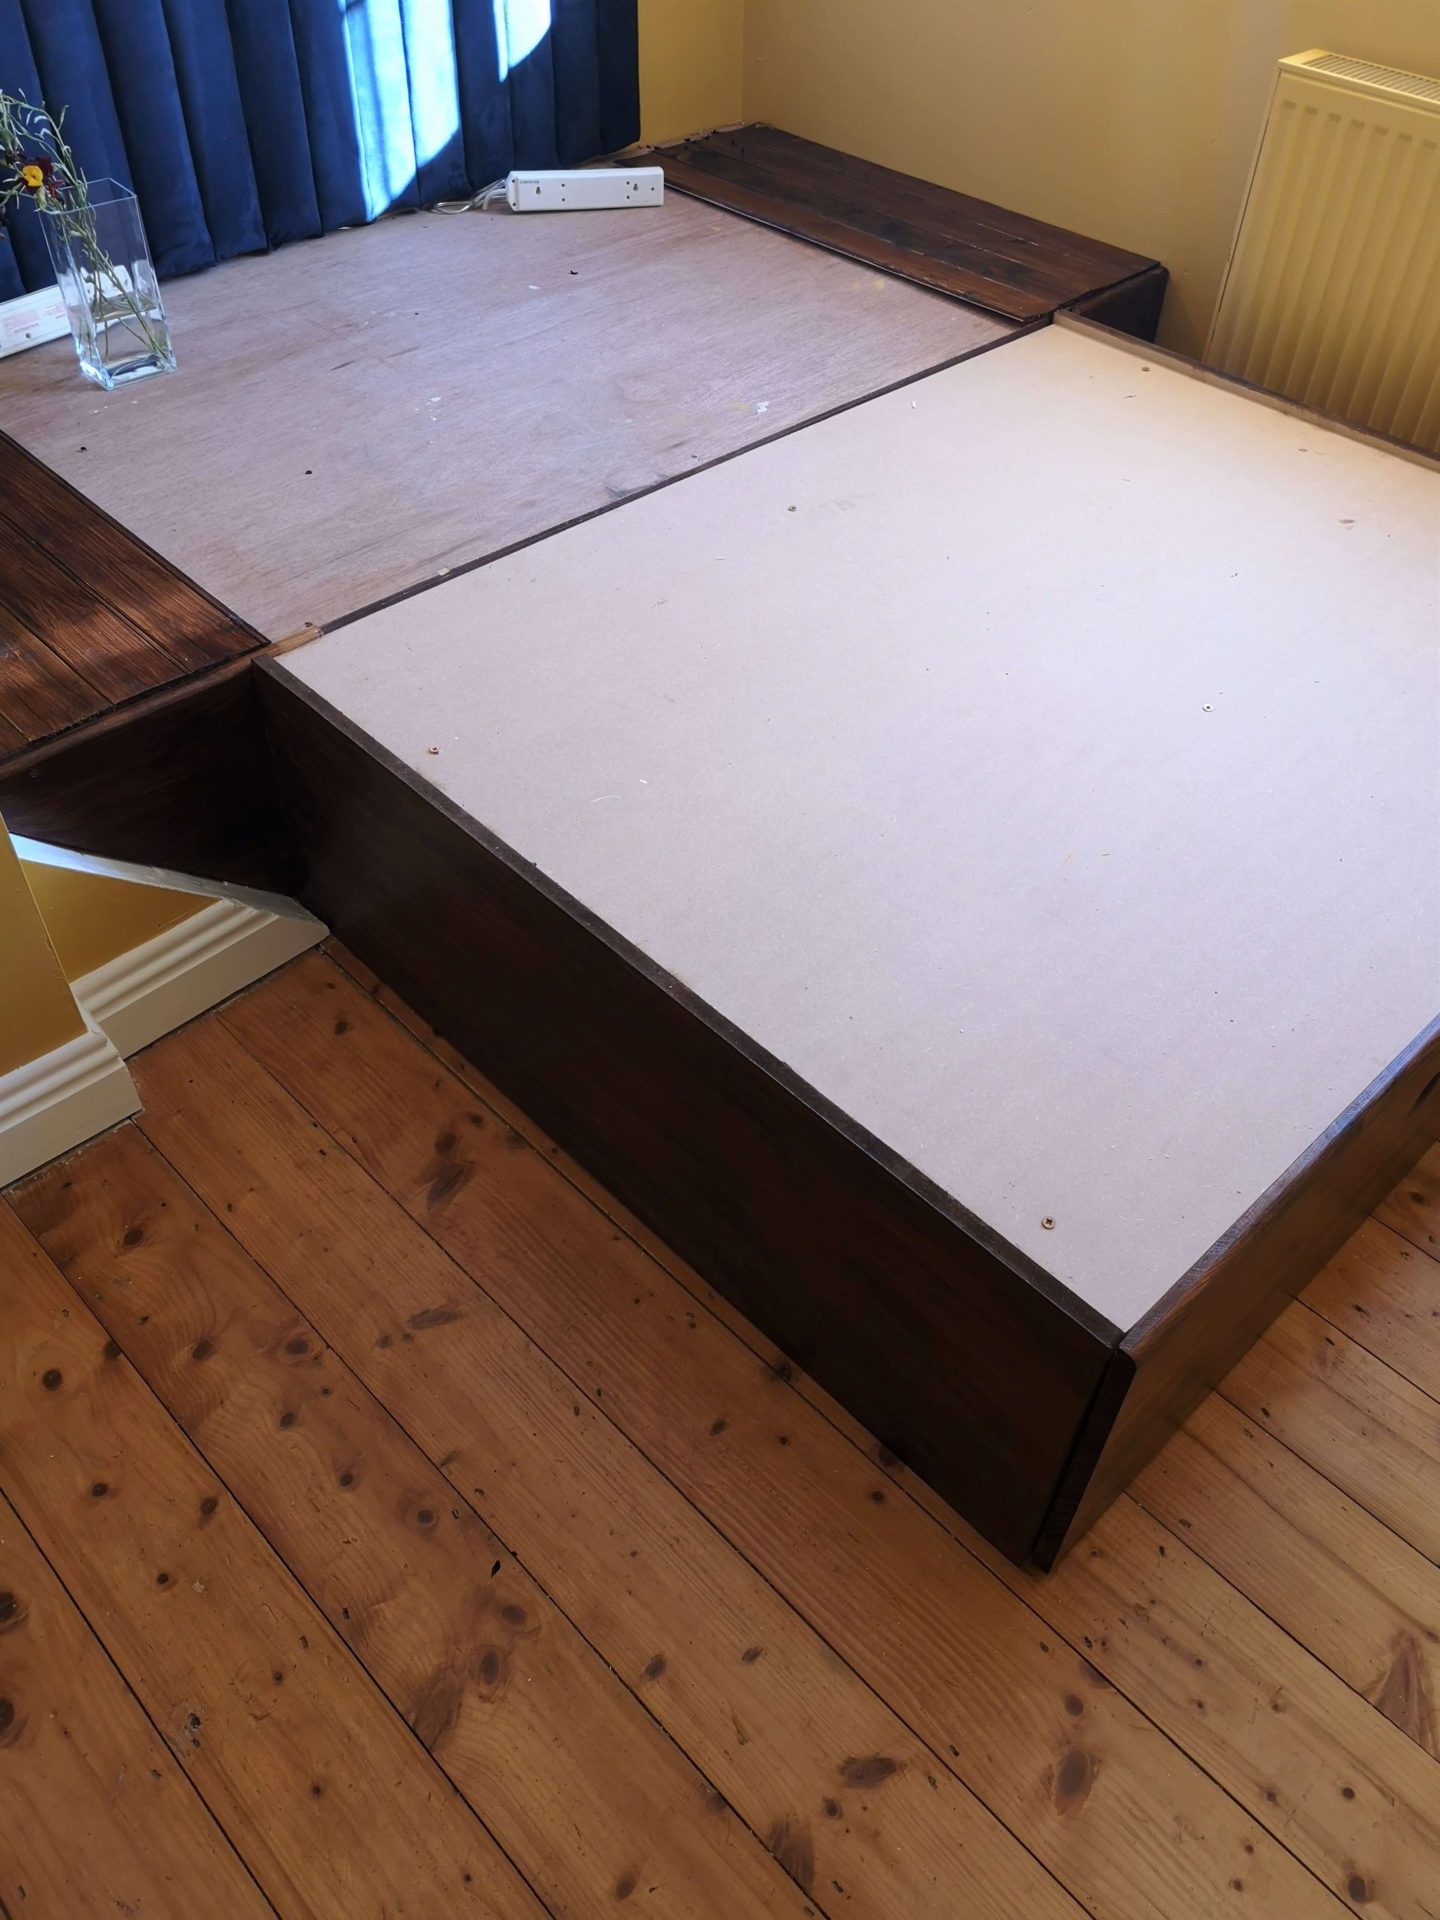
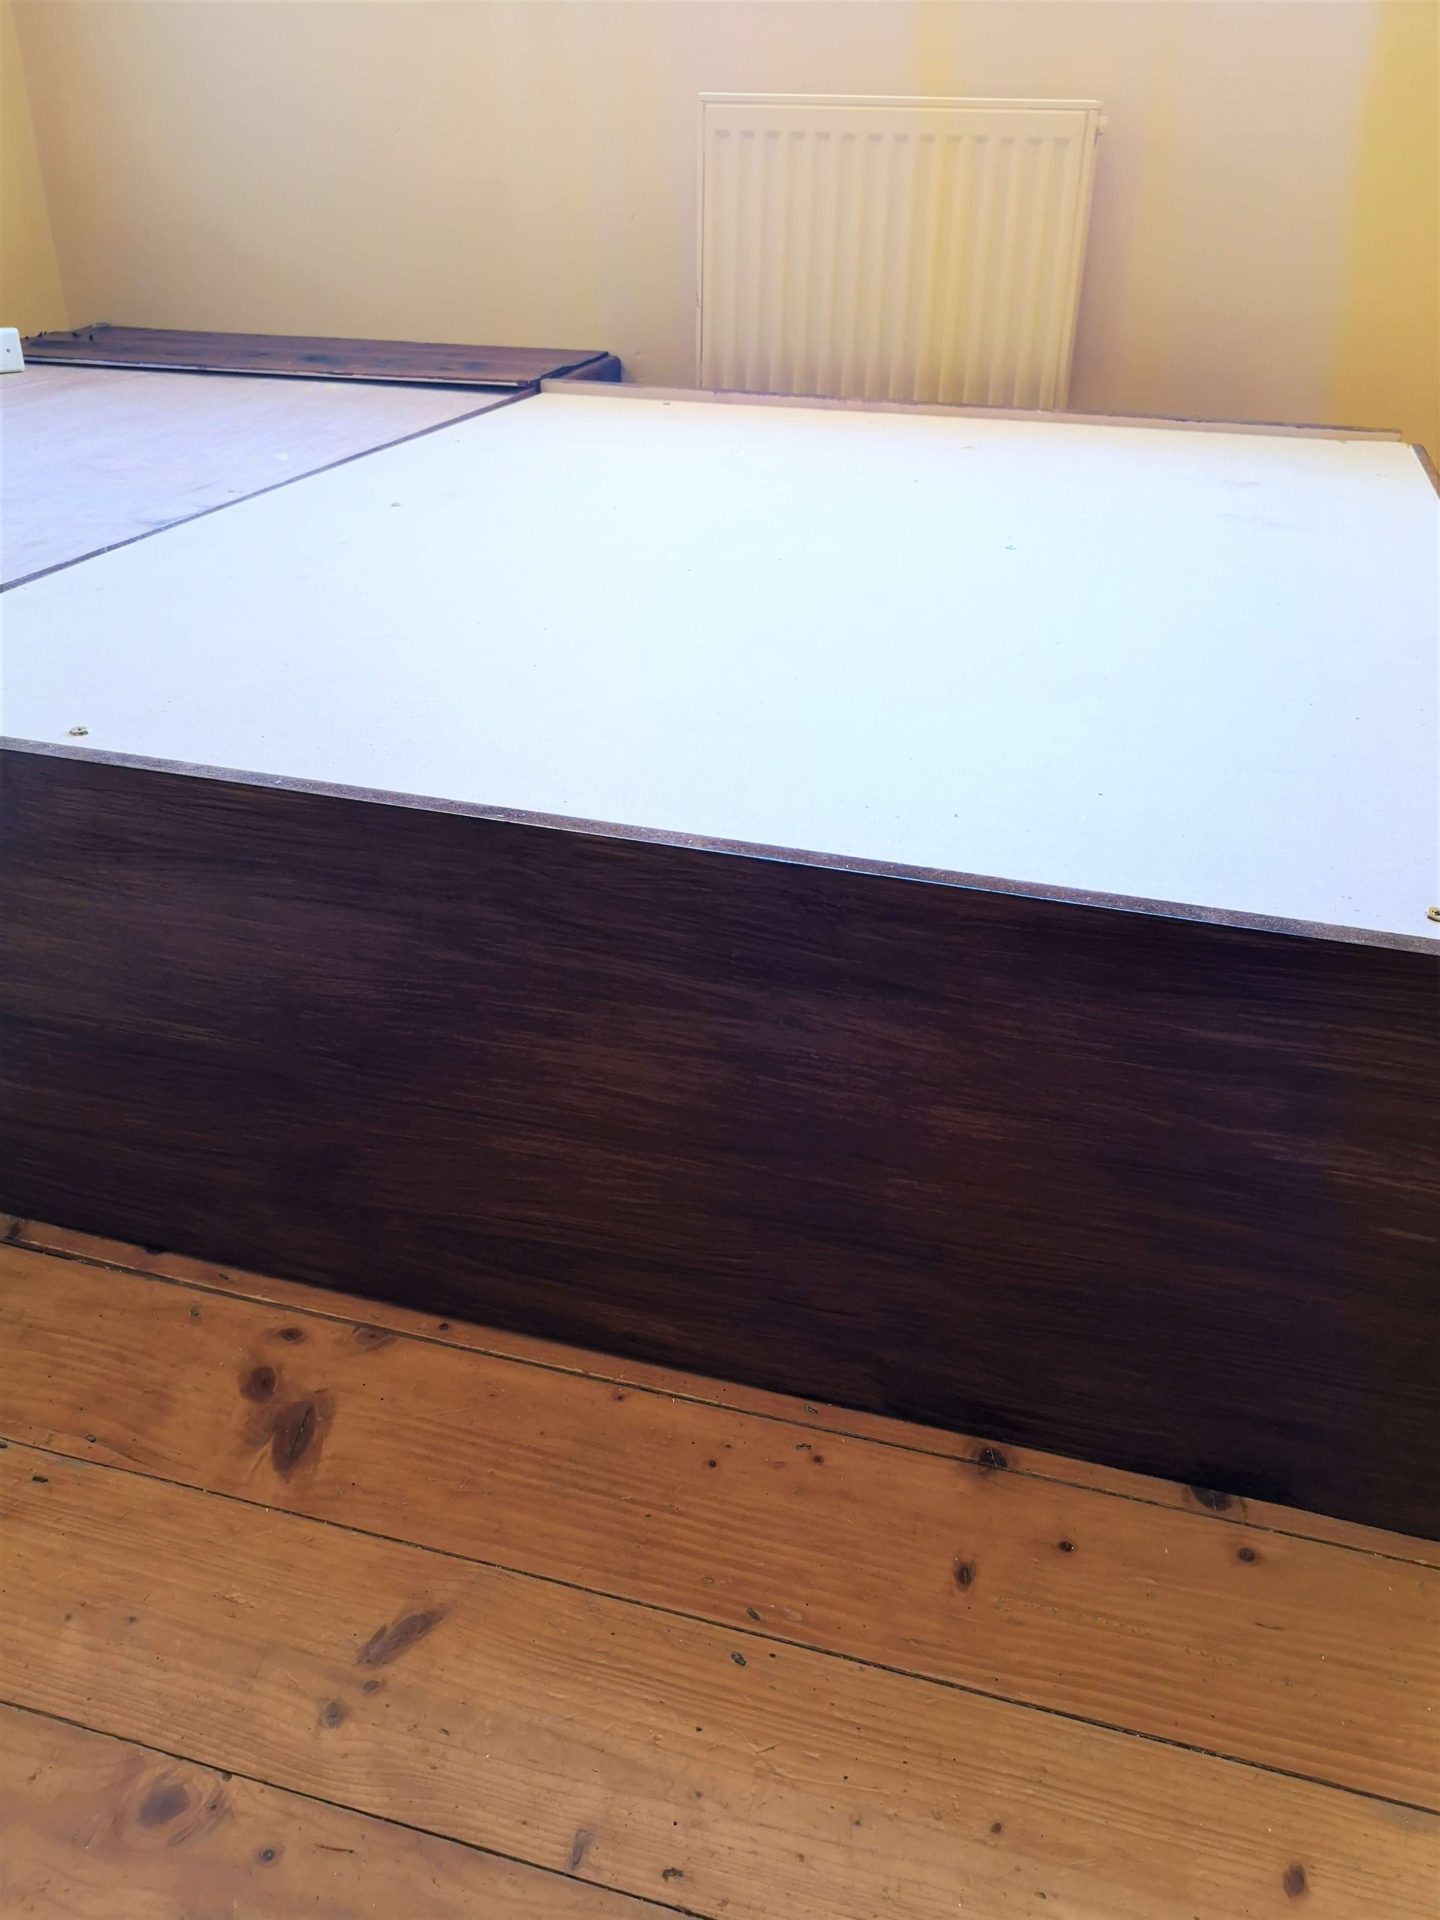
Our local B&Q store has a cutting service for large sheets of MDF. You can get up to 6 cuts for free. Woo hoo!! They cut out the two sides and the top of the bed out of MDF. I quadruple checked the measurements but I was still a little nervous bringing them home. But they all joined together really well. Our floors are a little uneven, so there’s a few parts that don’t join perfectly. Thankfully these aren’t noticeable at all.
Step 4
The final thing I want to tell you is how I ensured this bed base could also be used for storage. The front panel of the bed has two holes which can be used as handles when removing the panel.
Below you can see how I attached a small piece of wood to both the bed base and the front panel. Each piece had a 45° angle, either on the top or bottom. They then slot into each other and it holds the front panel in place. When I need to remove the front panel for storage, I just lift the panel off.

Attached to the base 
Attached to the front panel 
How they fit together
And so the bed base is complete!!! I put the mattress and duvet from our current guest room on top and everything fits perfectly, phew! I’ll update this post with new picture, when the sides are painted, etc. My next job is to make the headboard. You can see from my moodboard that I’d love a navy, fabric headboard. I’m going to start searching for some tutorials now, but if you have any ideas, feel free to leave a comment!


UPDATE: I have stained the bed base using Ronseal Quick-Drying woodstain in a walnut colour. Here’s a few tips I learned:
- You can apply the stain with either a paintbrush or a rag. Each method gives a different result so test first to see which one you’d prefer. I used a paintbrush to give a woodgrain effect to the MDF.
- The name doesn’t lie…it dries VERY quickly, so work in small sections only.
- Apply using long, horizontal strokes. The stain dries showing your brushstrokes, so be careful!
Look at these pics…don’t forget the top and sides are both made using MDF!! The brushstrokes create a great solid wood effect!
Not much time left until the end of the One Room Challenge. As I was away so much this month, there’s a good chance I might not get it finished. But I’ll push on til the end just in case!! Check out the One Room Challenge blog to see lots of amazing bloggers, most of whom will finish in time I’m sure!! 🙂

I am almost a year late in seeing this, but I wanted to tell you this idea is GENIUS!!
So smart.
Author
Oh wow Marie, thank you so much!!