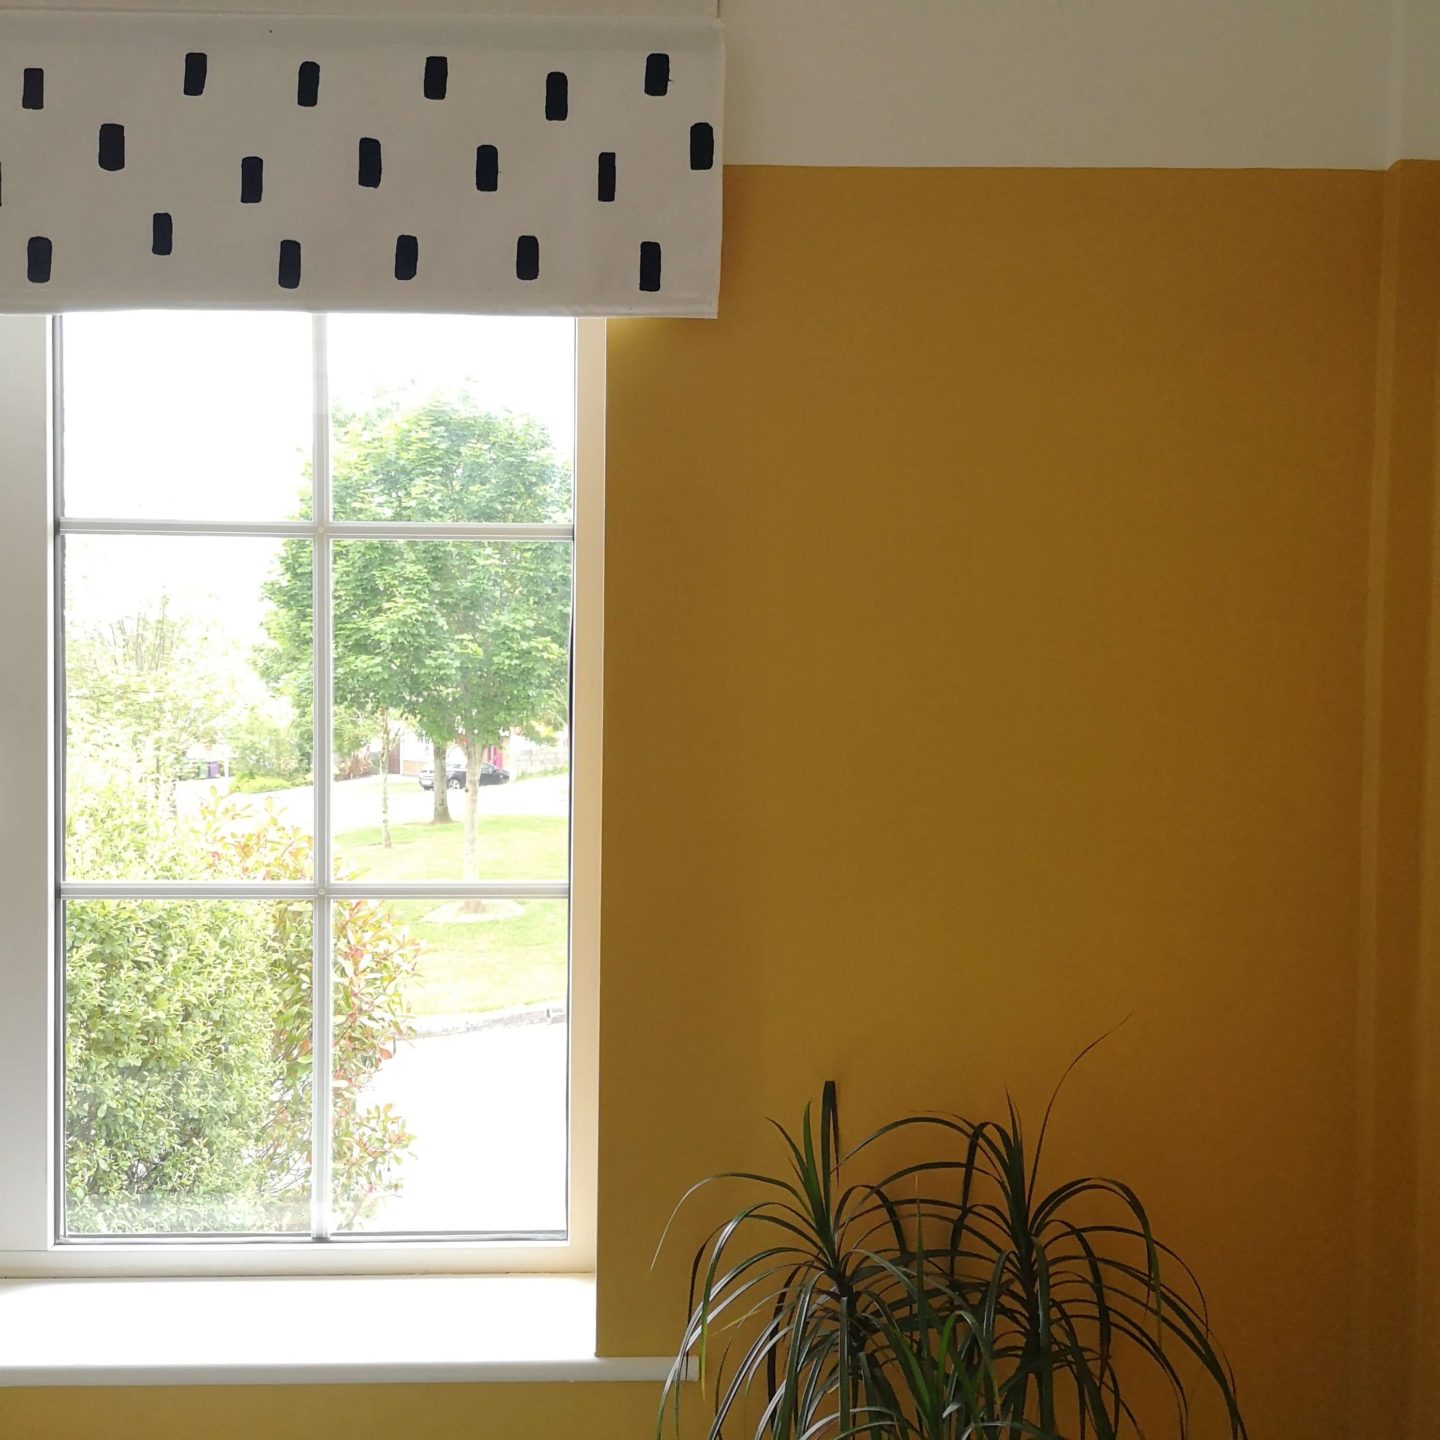
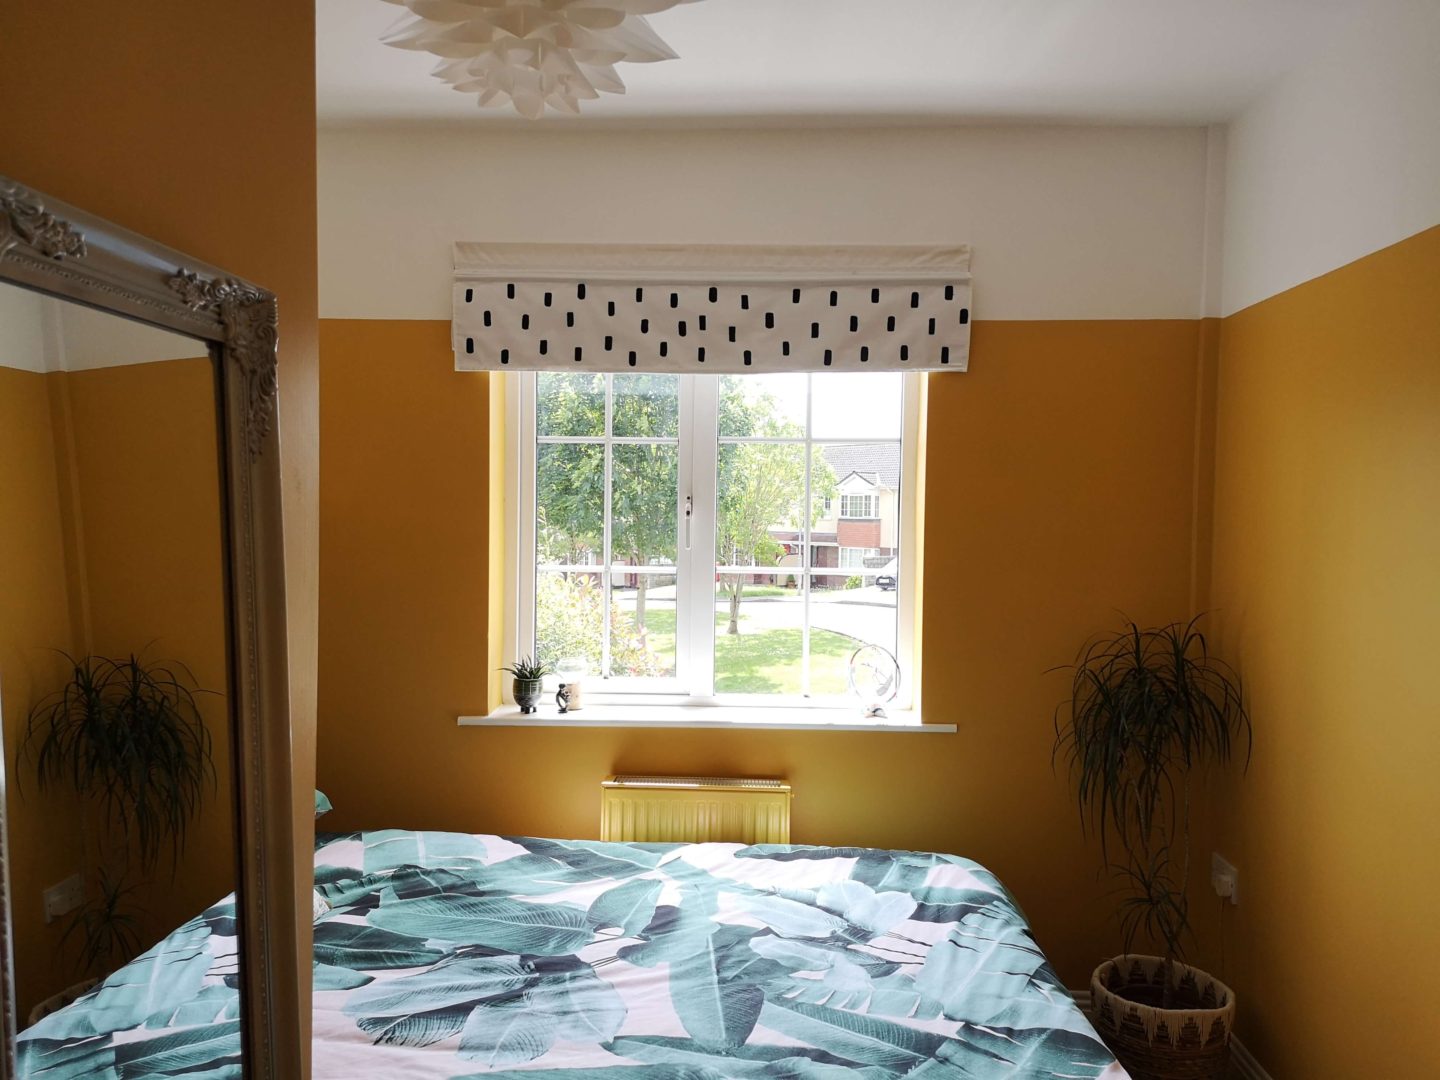
After the big reveal post last week I thought I’d share with you how I updated the Ikea Ringblomma blind. Firstly, the blind closes using magnetic strips. It might take a little longer to close, but there are no cords anywhere so it looks so clean. Ingenious!! Secondly, it was a great price which was important in this budget makeover. At €30, I couldn’t find a cheaper roman blind. There were just one or two things that needed to change!

As you can see in the photo above, you couldn’t call these blinds blackout. There was no way I could hang them in a bedroom – our guests would be waking up way too early and we like our sleep!! 😉 So the first thing I did was beg my mother to help me sew blackout lining onto the back of the blind. Being the total legend she is, she agreed!
Step 1
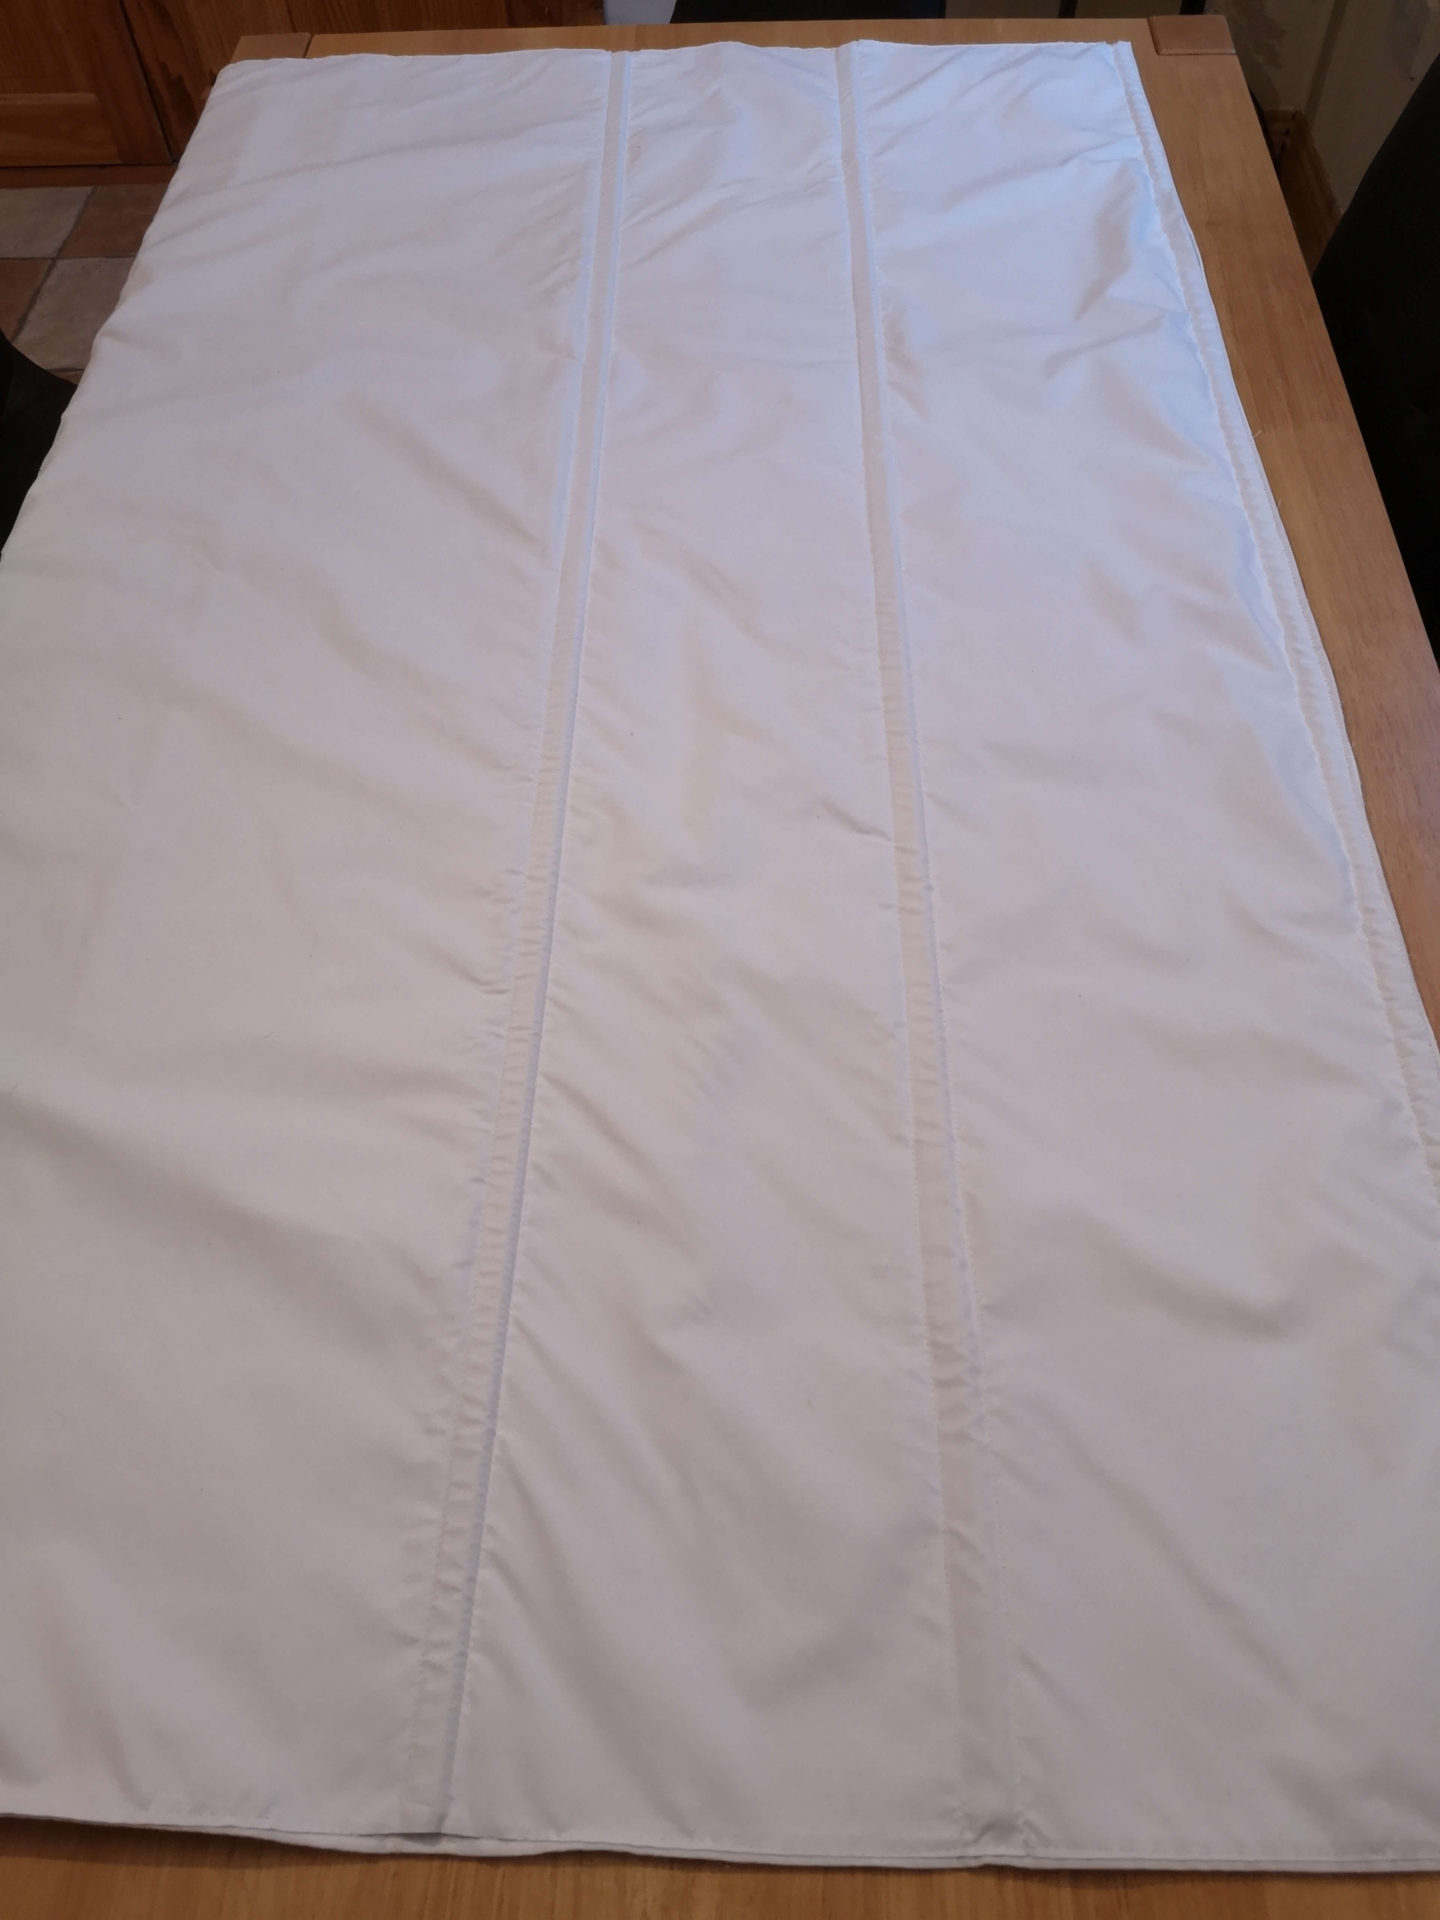

Cut the blackout lining slightly smaller than your blind. I left about a 2cm gap around all edges of the blind to ensure the lining couldn’t be seen from the front.
Remove the magnetic strips by snipping a few of the stitches along one side of the blind. Make a note of which side of the magnet was facing up so you can place it back correctly.
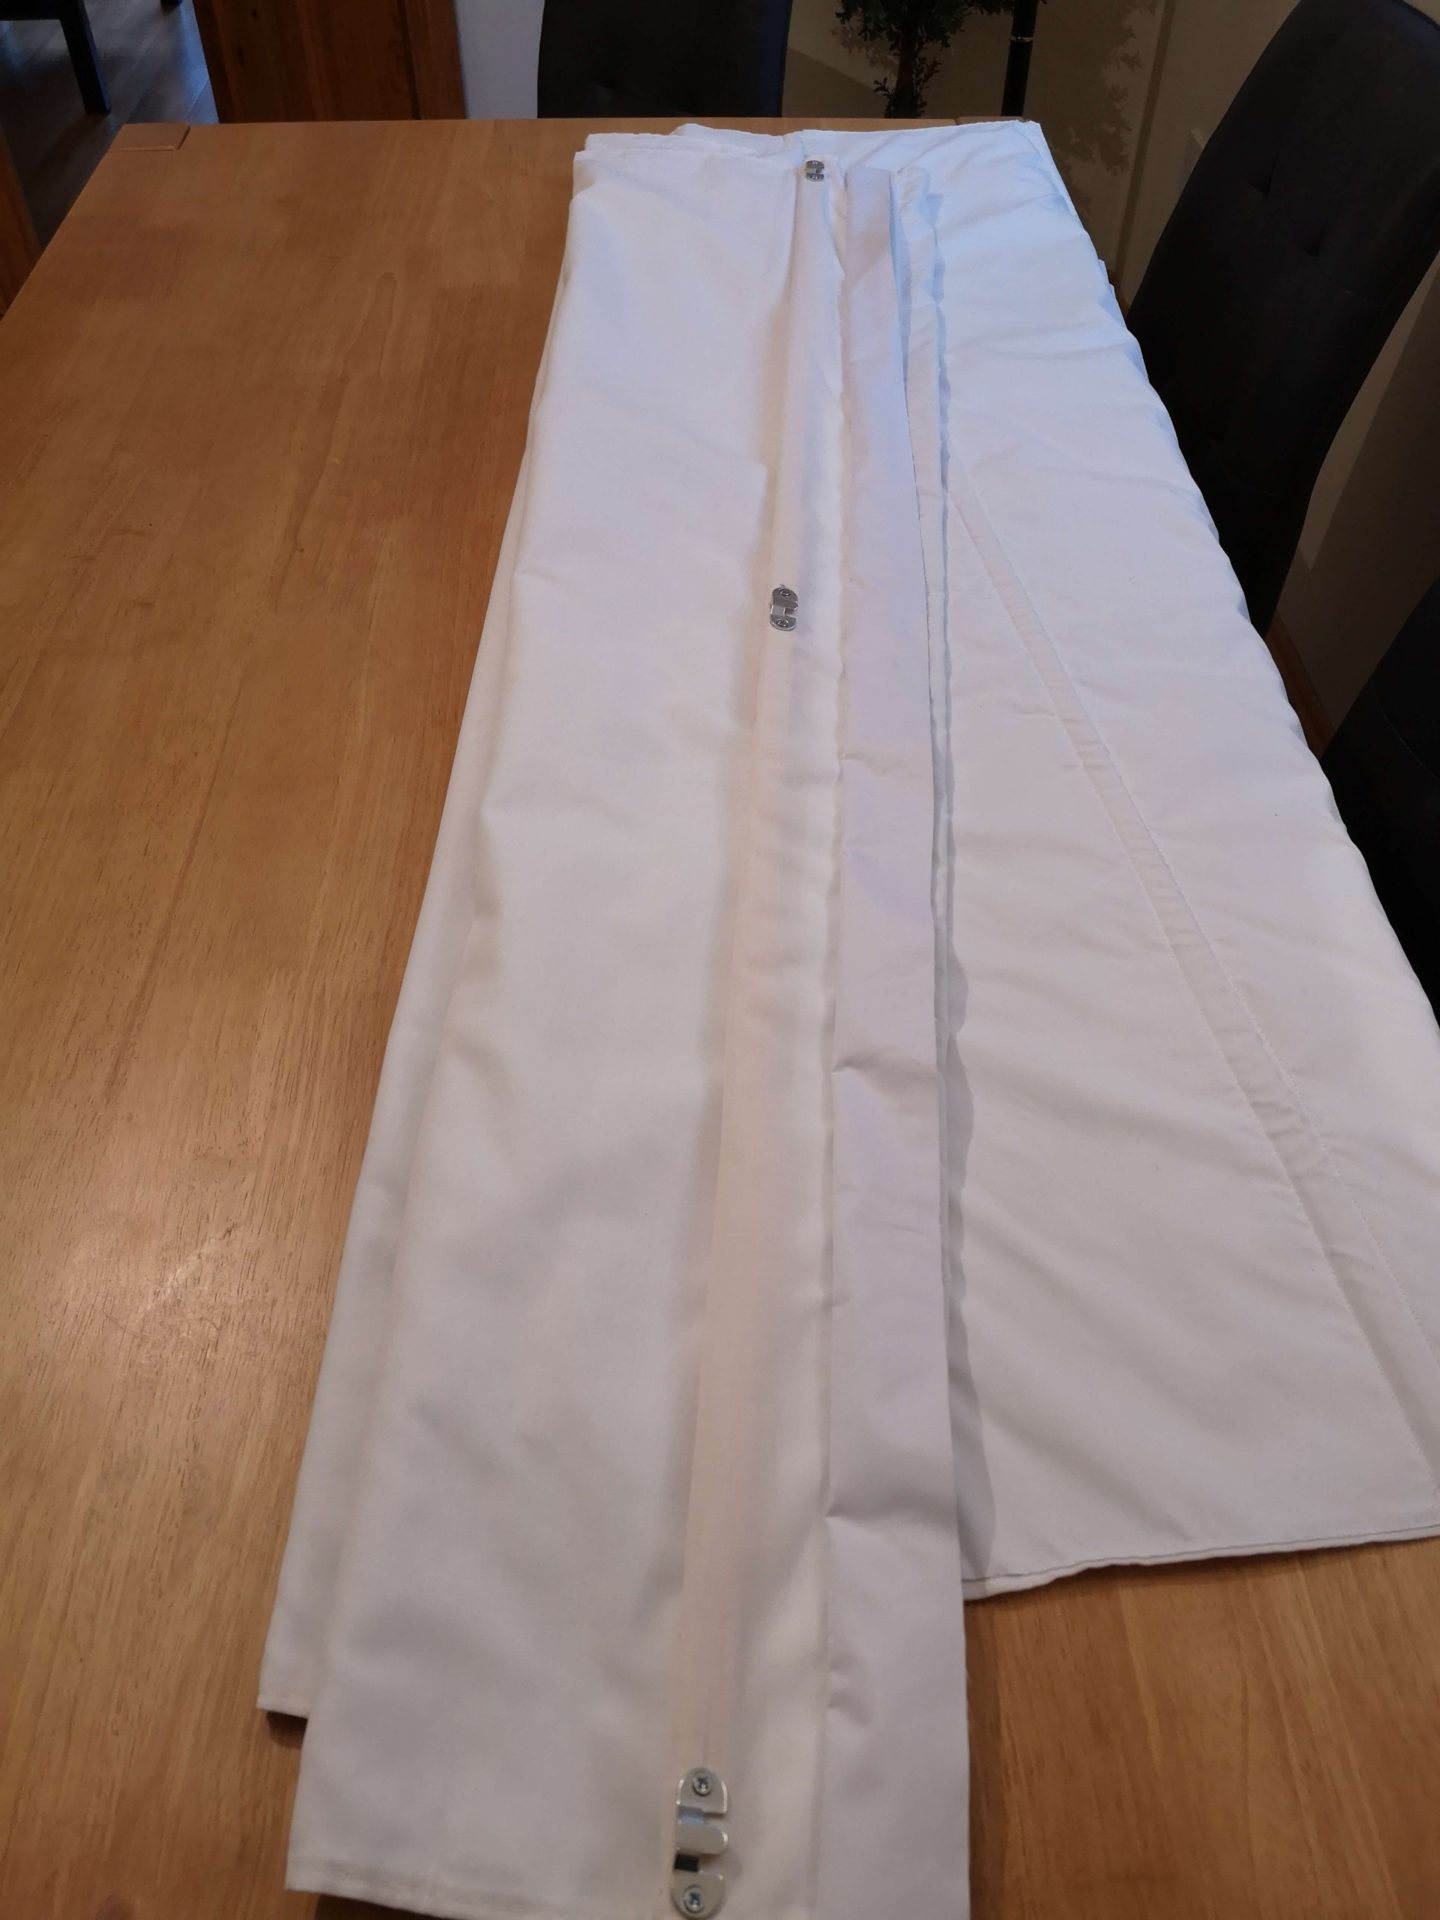
Next, sew the blackout lining onto the back of the blind. Make sure to follow the original stitching to ensure your magnetic strips can slide back into place. Sew above and below the slot for each magnetic strip, almost creating a ‘pocket’ for each one. You can see from the orange lines above where we sewed first. Then place your magnetic strips back in their original places. Finally, sew along all four outside edges of the blind.
Step 2

Now that the light situation is sorted, it’s time to turn our attention to the boring, white fabric in front. Because the rest of the room has so much colour, I wanted the pattern on the blind to be plain black. Also, because the palm leaf pattern on the duvet cover is large, I decided a small pattern would be a nice contrast. So I got to work scouring the house for objects I could use to print a pattern. I narrowed it down to the six you can can above. Can anyone spot the bubble wrap one?!
Step 3

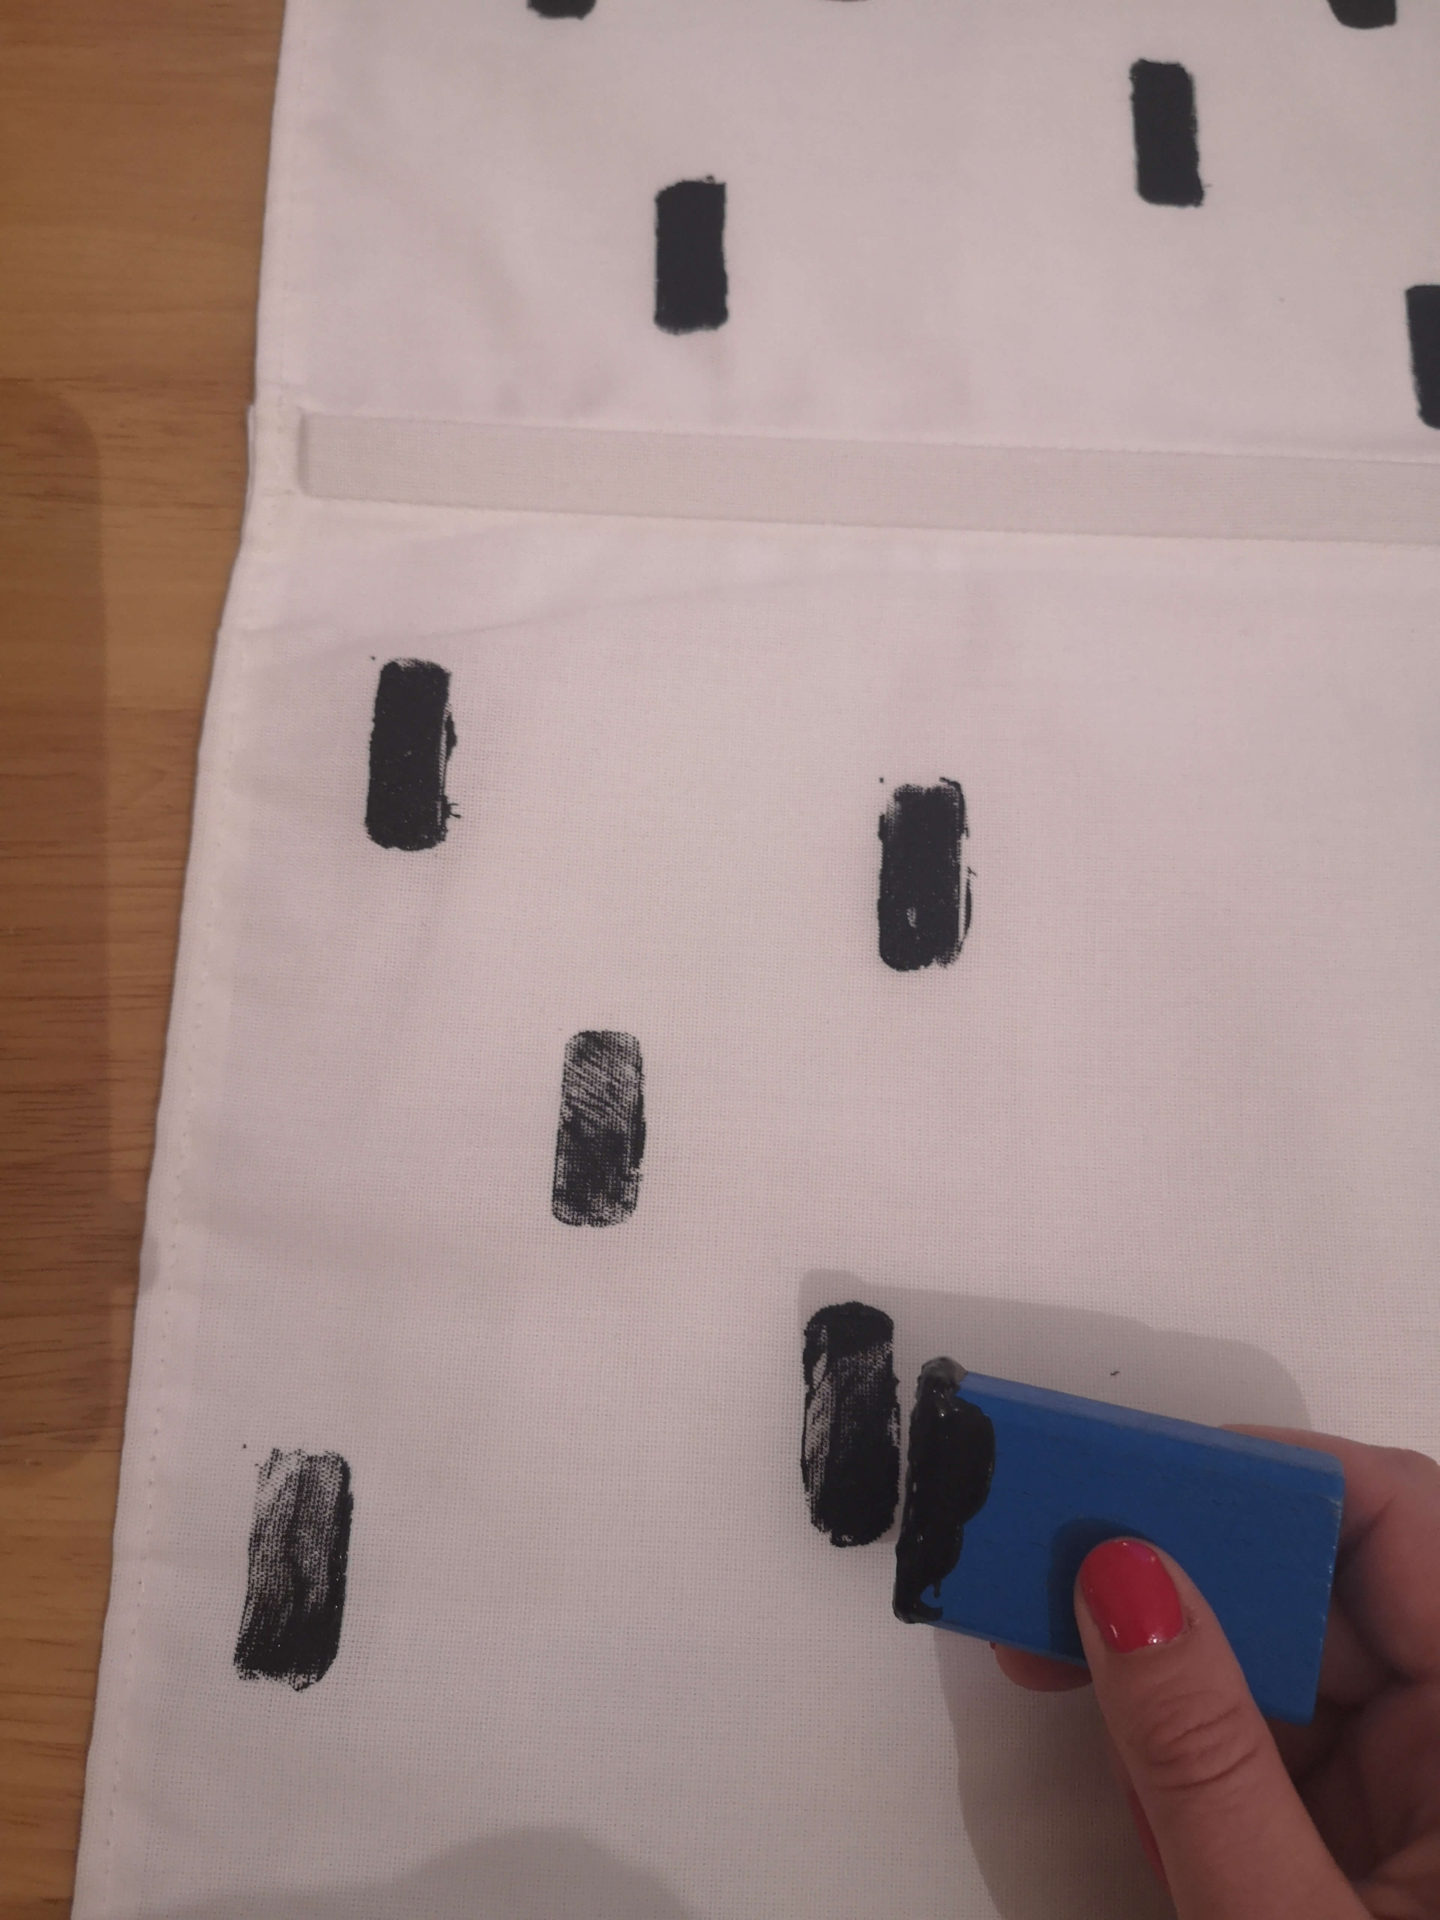
After deciding the small rectangular pattern was best, I used a simple block to print and then a small paintbrush to fill in any gaps and tidy it up a little. I used acrylic paint. Fabric would obviously have been a better choice but to be honest, I didn’t have any at the time. Google tells me acrylic will work, as long as I don’t wash it – no fear of that!!! 🙂
Step 4
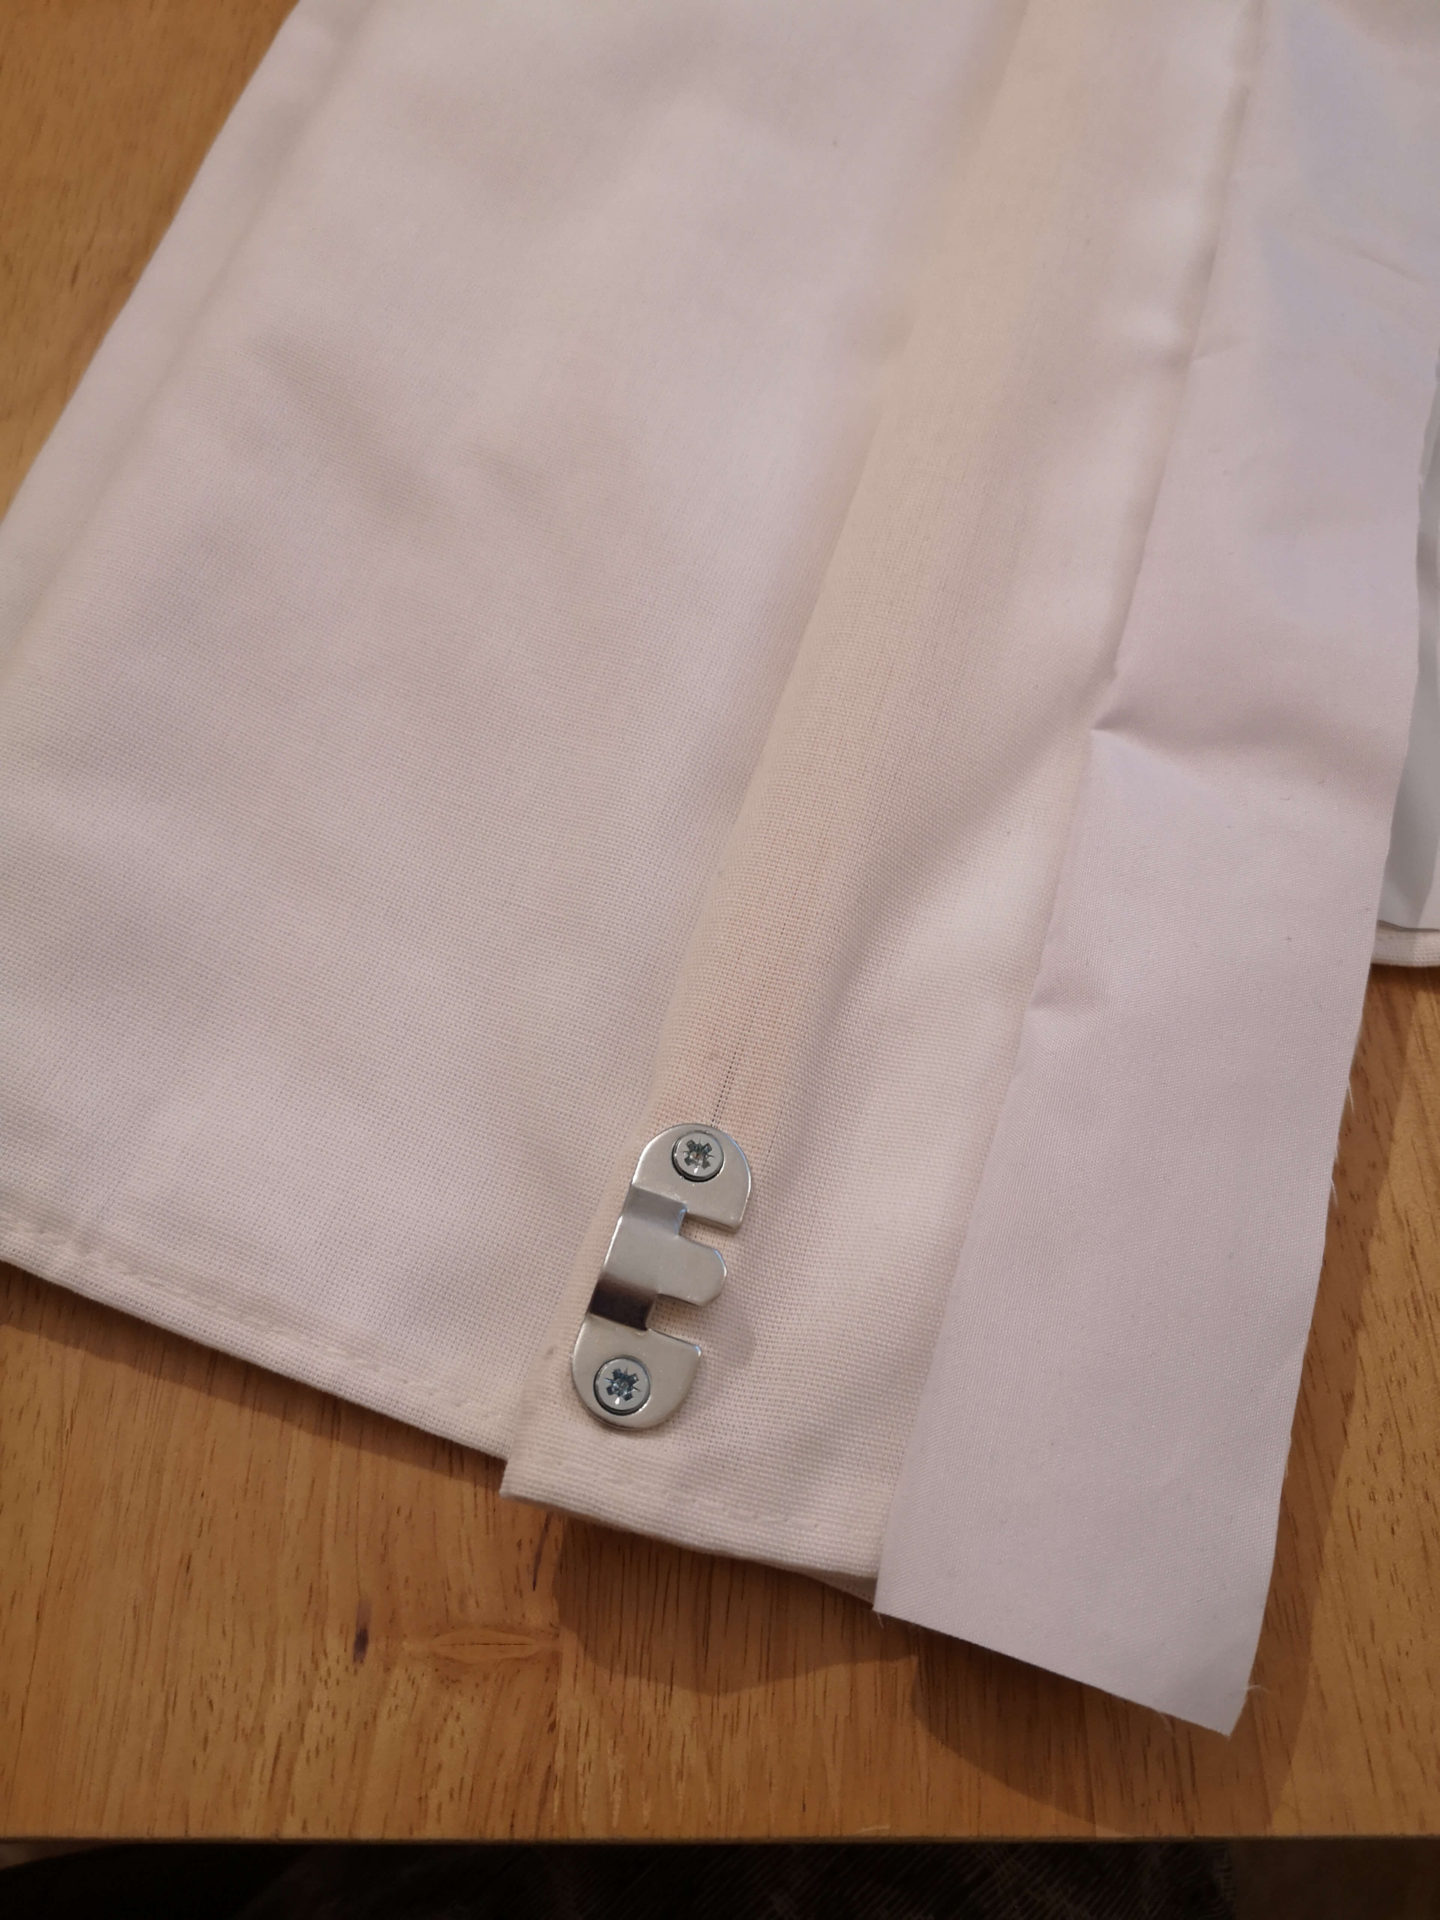
Even though the paint dried pretty quickly, I let the blind lie flat for 24hrs before I hung it. Just in case!! These flush mounts worked out so well hanging the DIY headboard that I bought smaller ones for this project. I love how it allows the blind to hang flush against the wall.
So there you have it folks – I’d highly recommend printing a pattern on any fabric you have that’s lacking a bit of wow – cushions, blinds, curtains… It’s such a simple update that packs a punch!!
can you tell me what the magnetic strip is like, can I buy it to make my own?
Author
Hi,
They looked like basic, plastic slats you’d find in a roman blind. I’m sure you could make your own, as long as they were sturdy so they wouldn’t bend under the weight of the fabric. Also, make sure the magnet is strong enough to hold the fabrics together. I found by just adding the blackout lining, the magnet is barely holding on! Hope that helps, best of luck!
Did you find an answer to this? Trying to make one myself. Thanks!!
Author
Hello,
I just answered the question, though to be honest I’m not quite sure if I helped as maybe we have different blinds. Is it the Ringblomma that you have?
How do you get the blind up and down from the top position? I was sold a pole with 2 little curved pieces on the end, but it turned out this is actually for another IKEA blind, and the staff couldn’t tell me how you got it up and down to the highest position if you have a high ceiling. Thanks if you can help.
Author
Hi, sorry – I don’t know how I missed your question! I’m not quite sure what you mean. There are four slats with magnets already installed in the blind. I simply join the slats together, starting with the ones on the bottom and layer them up until they get to the top one. Does that answer your question?
The Ikea diy blind idea is just banged on, thank god I came across it in time. I was looking for something like this, this will suit to our new guest room, I would love to experiment on these Ikea blinds diy plan.
Author
Glad you found it! Best of luck with your DIY!
Can you trim down or cut the RINGBLOMMA Roman blind? I want to hang these on my kitchen doors’ windows, and I’d need them to be at most like 28 inches wide. The most narrow one IKEA sells is 34.5 inches. I have a sewing machine and can sew, so that’s not an issue. I’m worried about cutting the magnets.
Author
I’m not 100% sure to be honest ,as I can’t remember the magnets fully. Very easy to remove the magnet but think you would need a hacksaw to cut the magnet as I think it was similar to metal. If you did have a saw though, I would think it would be doable. Thanks!
I am currently cutting one down…the slats are plastic with two very strong magnets inside which don’t run the length of the blind and easy to cut down
Author
Oh brilliant! Best of luck with the rest of it, I’d love to know how it goes!! 🙂
Can they be shortened to fit a smaller window. If yes, how? Also, would they be see thru at night?
Author
Hi, yes this can be shortened. In fact that’s what I did! I just cut off the extra from the bottom and hemmed the border with a sewing machine. You do have to be careful where you cut as I think when the blind is open, it’s nicer if that front panel covers all the folds behind. But that’s just me!😊 At night, it would not be see through. I just added blackout lining as the light was coming through in the morning. Thanks for reading!
Thanks, this is really interesting. I’d like to sew some patterned fabric onto the front of these instead of blackout lining to the reverse like you did. Do you think the magnets would hold up?
I’m also maybe thinking of sewing a tab onto the bottom to replace the plastic grey bit which came with it.
Author
Hi, thank you! Yes, I think you could definitely sew fabric on the front. Just a tip though…the lighter weight the material, the better the magnets would work. Let me know how it goes!
Hi! Thanks for sharing your post!
I’m thinking of installing this blind behind my current sheer linen curtain which I’ve gotten from IKEA too. Do you think if the blinds were down and curtains drawn, the room will be dark enough similar to a blackout?
Author
To be honest I don’t think so. The blind is a linen material which is why I had to put a blackout lining. Without a blackout lining on either the curtains or blind I don’t think it would be dark enough. Sorry!
I have been looking all over for the magnetic strips that are used for the ringblomma!
I have taken my shades apart and walked into more than one hardware store and an upholstery shop and they can’t help me.
Please let me know if you have a resource.
Ps- the magnetic strips can be. It once removed (using a hacksaw) but they lose some of their power.
there is a company called chicology which also makes an almost identical shade to the ikea Ringblomma so I called them Nd asked if they sell the replacement magnet strips and they informed me that the shades are pre-made overseas so NO.
Any advice for a resource would be appreciated as I would like to make my own ! Seems as if these magnetic strips /inserts are elusive
Author
Hi Samantha,
So sorry, but I haven’t come across them either. I’ll be sure to let you know if I do though, there’s nothing more annoying than constantly searching for the right thing! Have you fabric and you’re trying to make your own magnetic blinds? Thanks for letting me know the strips lose power if cut!
Noreen
Hi there, inspired by your post I tried to add a single layer of fabric to my 120cm wide Ringblomma to make it more darker – but found that the blinds getting too heavy for the magnets – did you have any issues or do you think it’s because of the width?
Author
The magnets still work for me…but just about! If it was any heavier I’d say it wouldn’t. I wonder could you add a few extra magnets?
Hi, is there a sewing pattern available too make new blinds , to make interchangeable blinds different colours for different seasons etc. Thank you Anna
Author
Hi, sorry I don’t have a sewing pattern as I never took the removed the old blind, I just added liner. But you could remove the slats and try to recreate the pattern. It wouldn’t be too difficult if you have sewing experience.