In our dining room there is corner which I knew would be perfect for a bit of storage, but it’s narrow depth (25cm) was a bigger issue than I thought. The only cabinet I could find that would fit in that depth is the Ikea Besta. And the only problem was, none of the doors matched to what I had in mind for the dining room. I wanted something simple and elegant and just a touch modern, so I figured it was time for an Ikea hack!
So, I ordered three narrow cabinets with Lappviken doors. I chose to go handle free for a sleeker look so I’ve used the soft closing push to open hinge to open and close the doors. Amazing! Unfortunately, the doors arrived damaged, but after a quick phonecall to Ikea, another set were on the way and arrived within a week.
Step 1
We put together the Ikea Besta units very quickly. Once that was done, we screwed them together to form one unit using the special screws Ikea provided. We then hung the unit on the wall using a mounting rail that you screw into the wall. We hit as many studs as possible when screwing it in and we used special drywall anchors for any screws that weren’t hitting a stud.
Once the mounting rail is attached, you simply hang the cabinets on the rail and lock them in place using the screws Ikea provide.

Step 2
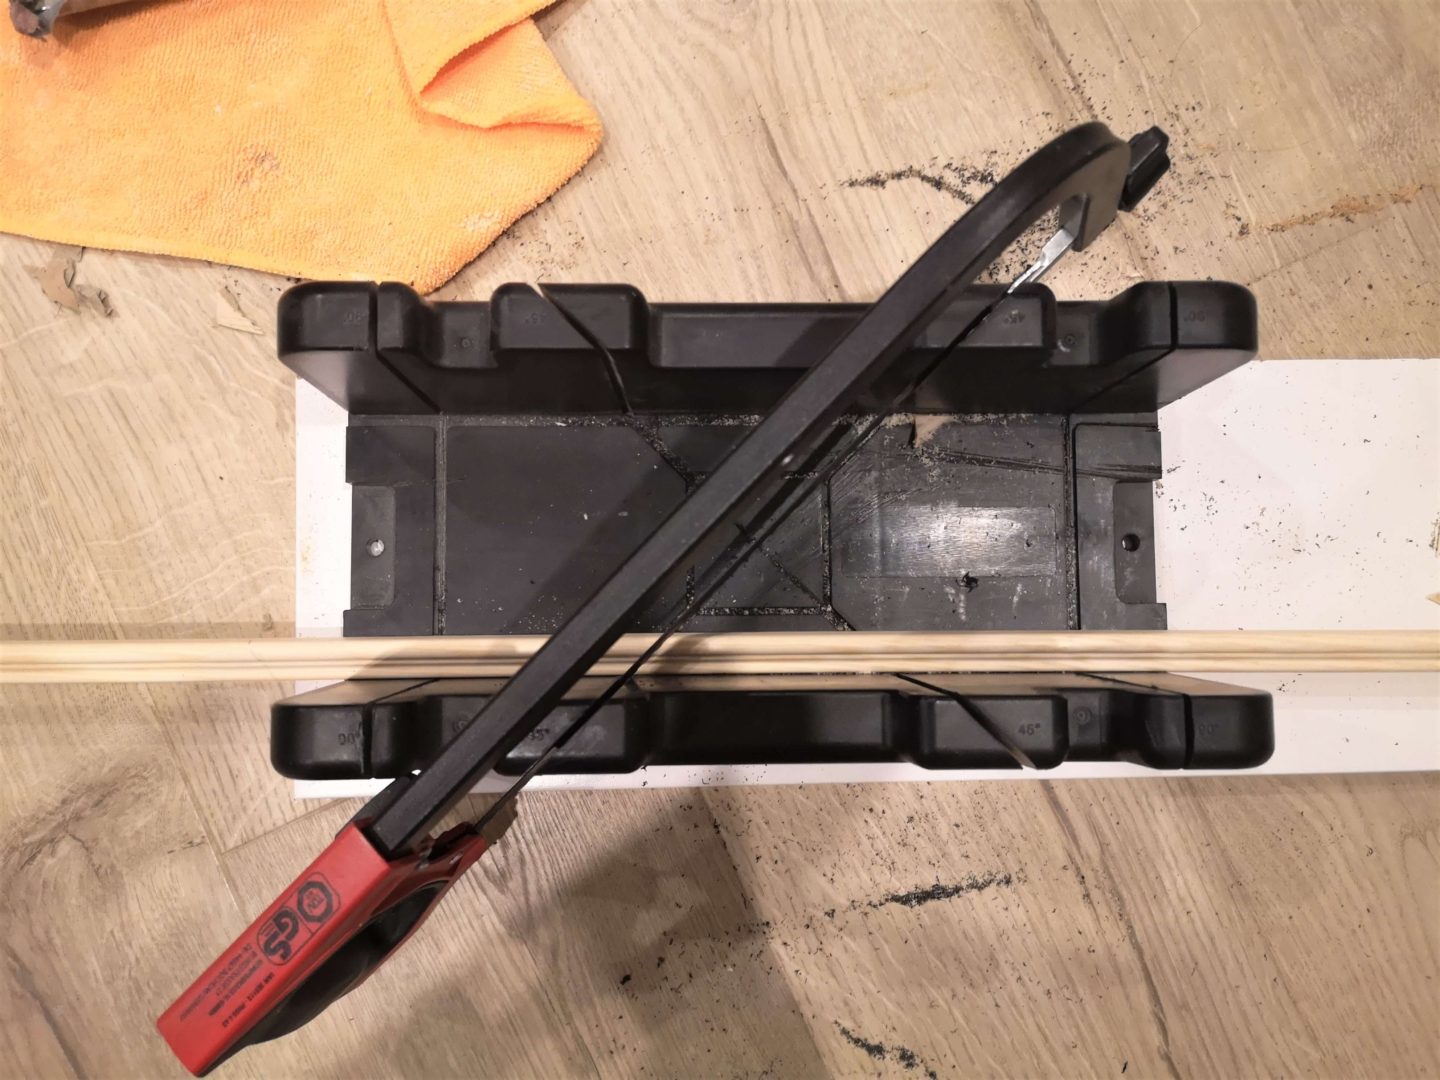
The first thing I did was grab this moulding from B&Q and cut it into lengths which had a 45° angle both ends. While a table saw would give a neater finish, I only had a mitre box available. It was cheap, easy to use and in the end it worked!
Step 3
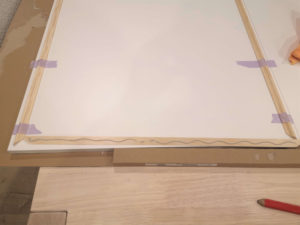
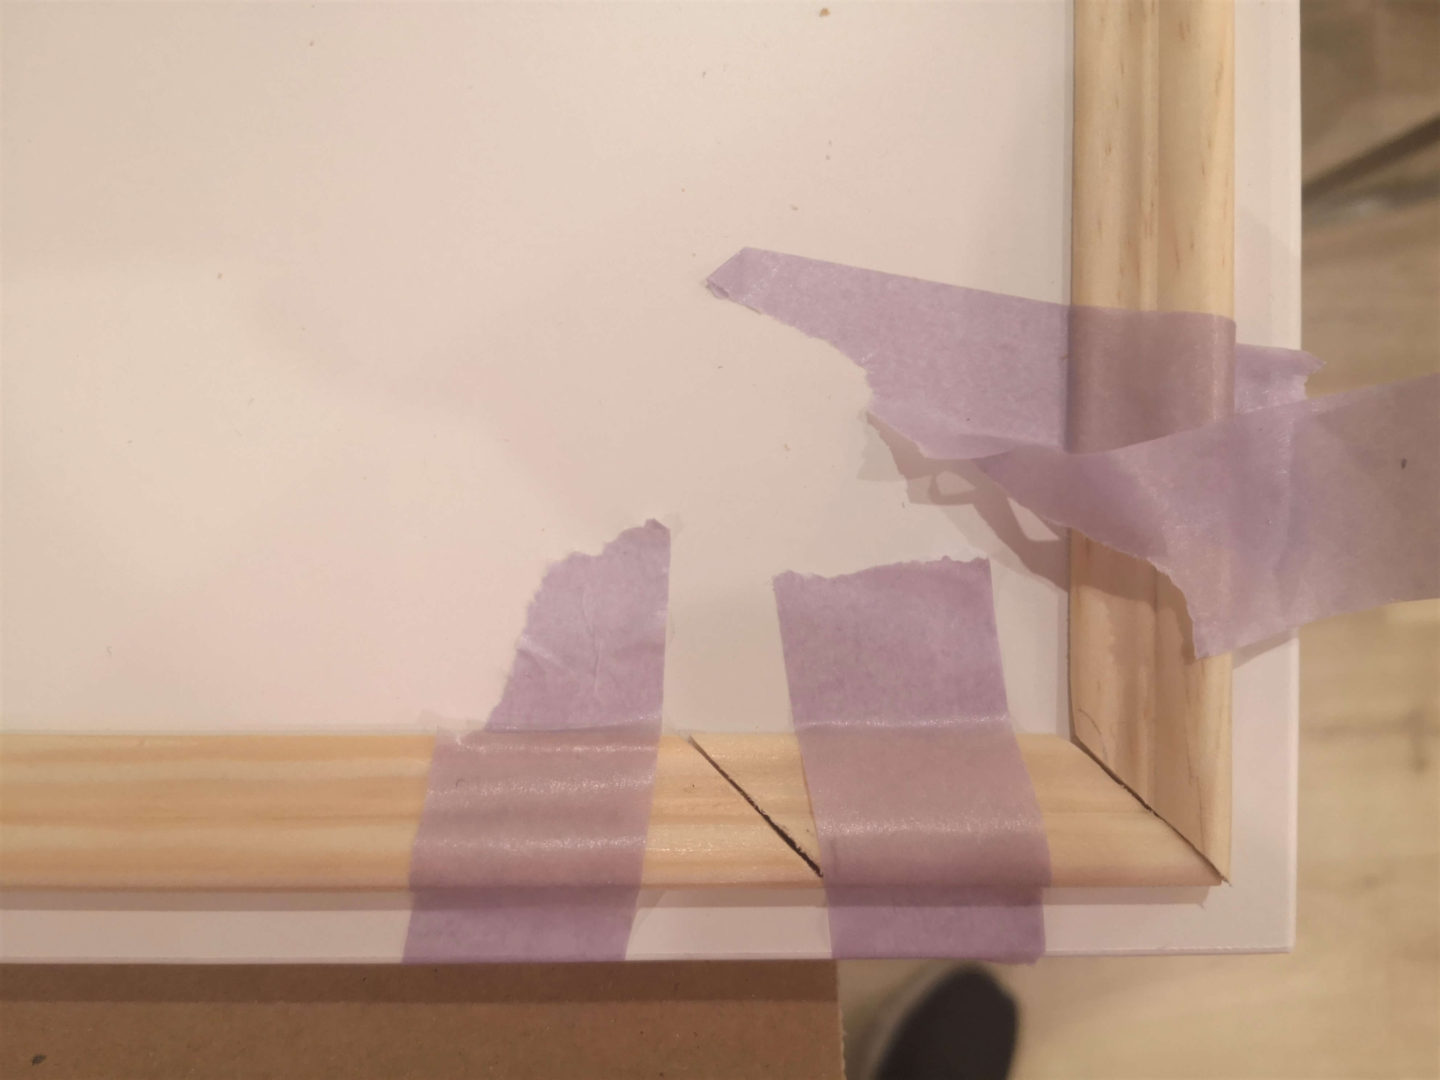
Once the pieces were cut, I spent a lot of time taping them down in the correct place. I had to ensure each trim piece was the exact same distance from the edge all the way around. It definitely took longer than I thought it would take. When they were in place, I glued each trim piece on, one at a time, using liquid nails. Make sure you put on enough glue, as there was one trim piece which became loose the next day and I had to re-glue it.
Step 4
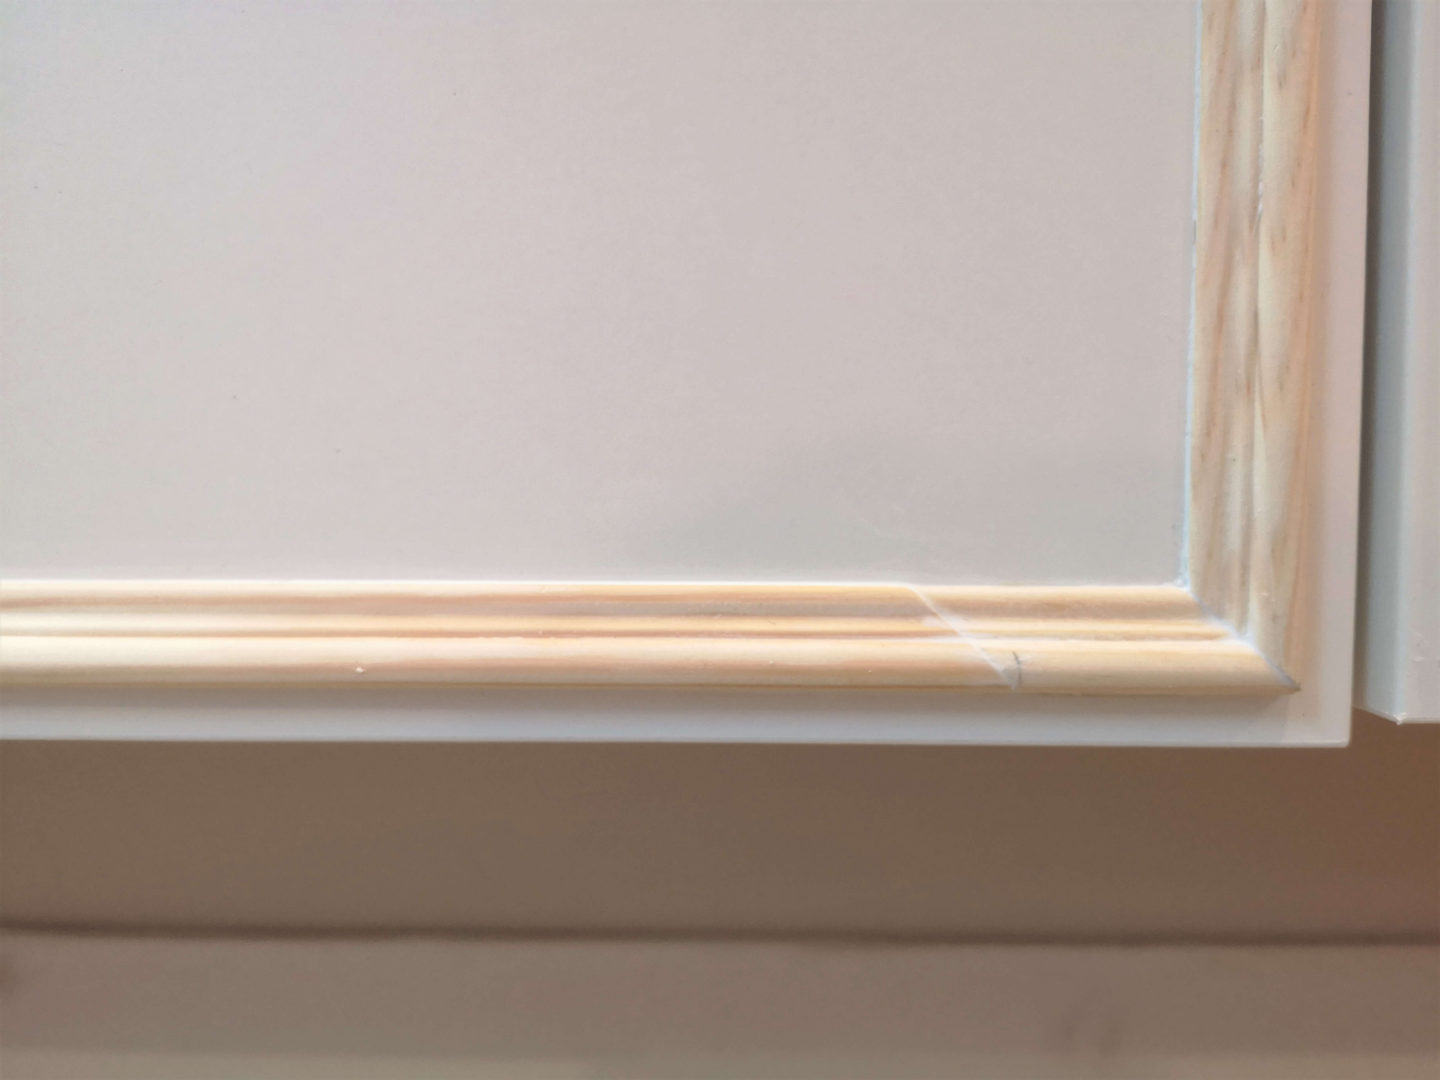
Once it had dried, it was time to apply caulk to all the edges of the trim, especially where two pieces of trim met at the corners. Caulking is such an important step and it’s necessary if you want a professional looking finish. Just take your time and work in small sections. Wipe off the excess as quickly as you can as it dries fast. Oh and also make sure the caulk that you buy can be painted over!
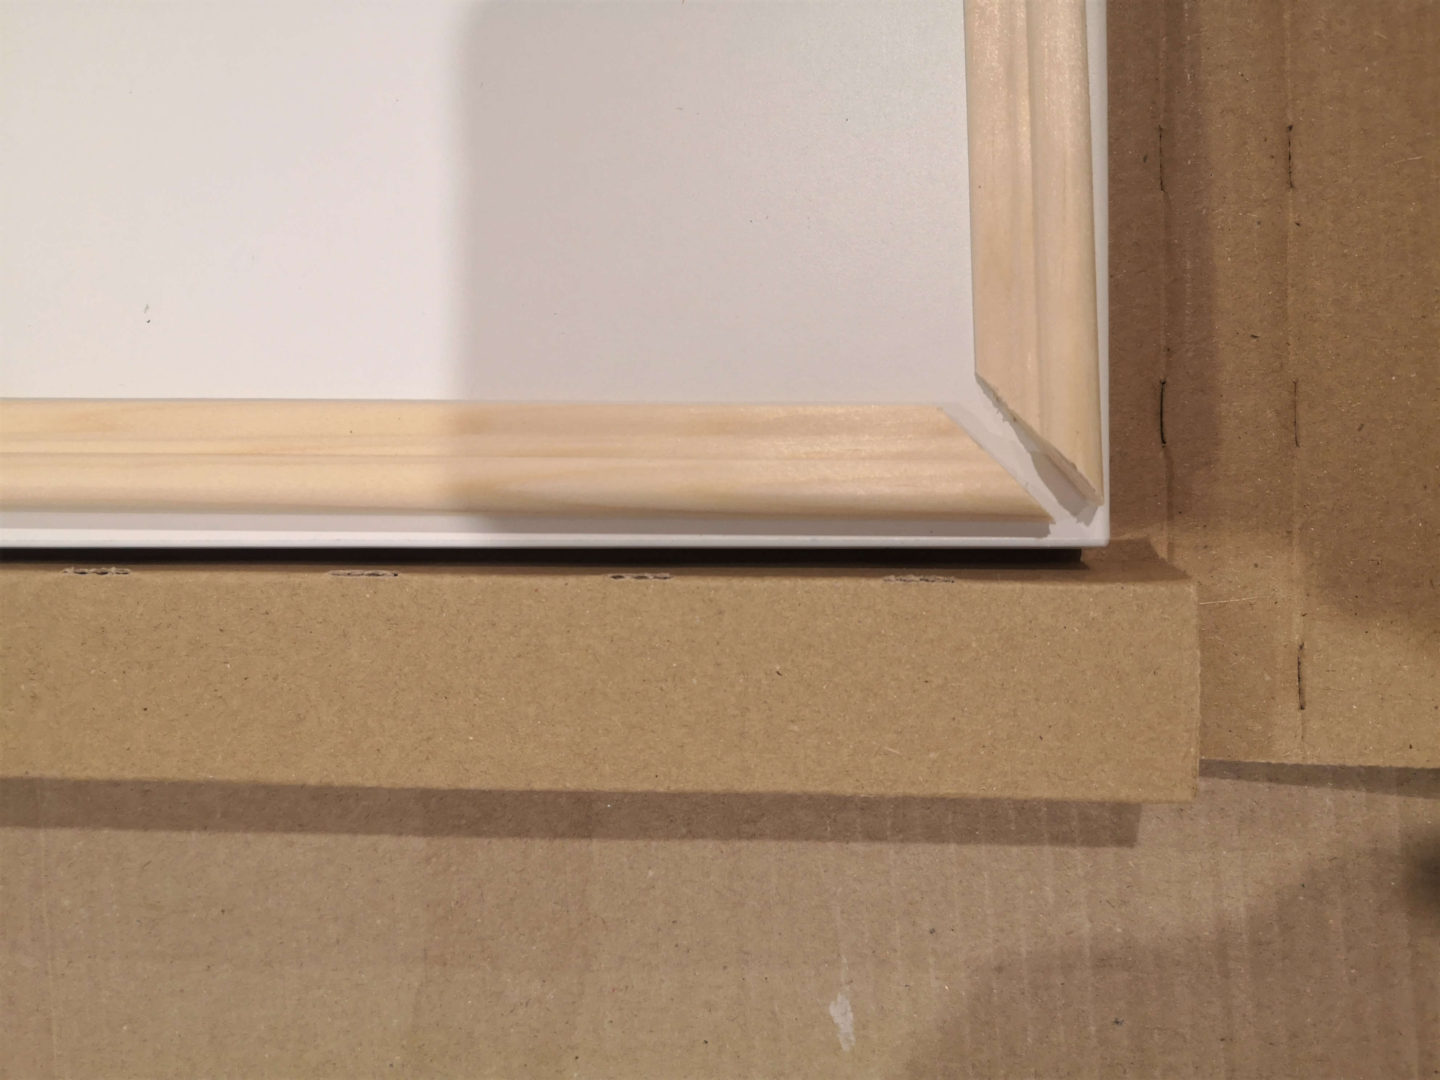
You can see below how much of a difference it has made to this one section where I cut the piece of trim at the wrong spot. I didn’t have any trim left over to make a new piece so I had to work with what I had. I think the caulk saved it though! What do you think?
Step 5
Now it’s time for paint, but you can see I haven’t gotten that far yet. The damaged doors delayed me a bit, but I still wanted to post for week 7 of the One Room Challenge. The plan is to prime it with this which worked really well when I painted our laminate bedroom wardrobes. Then I’ll paint it using this gorgeous shade of green. I’ll update this post once it’s painted!
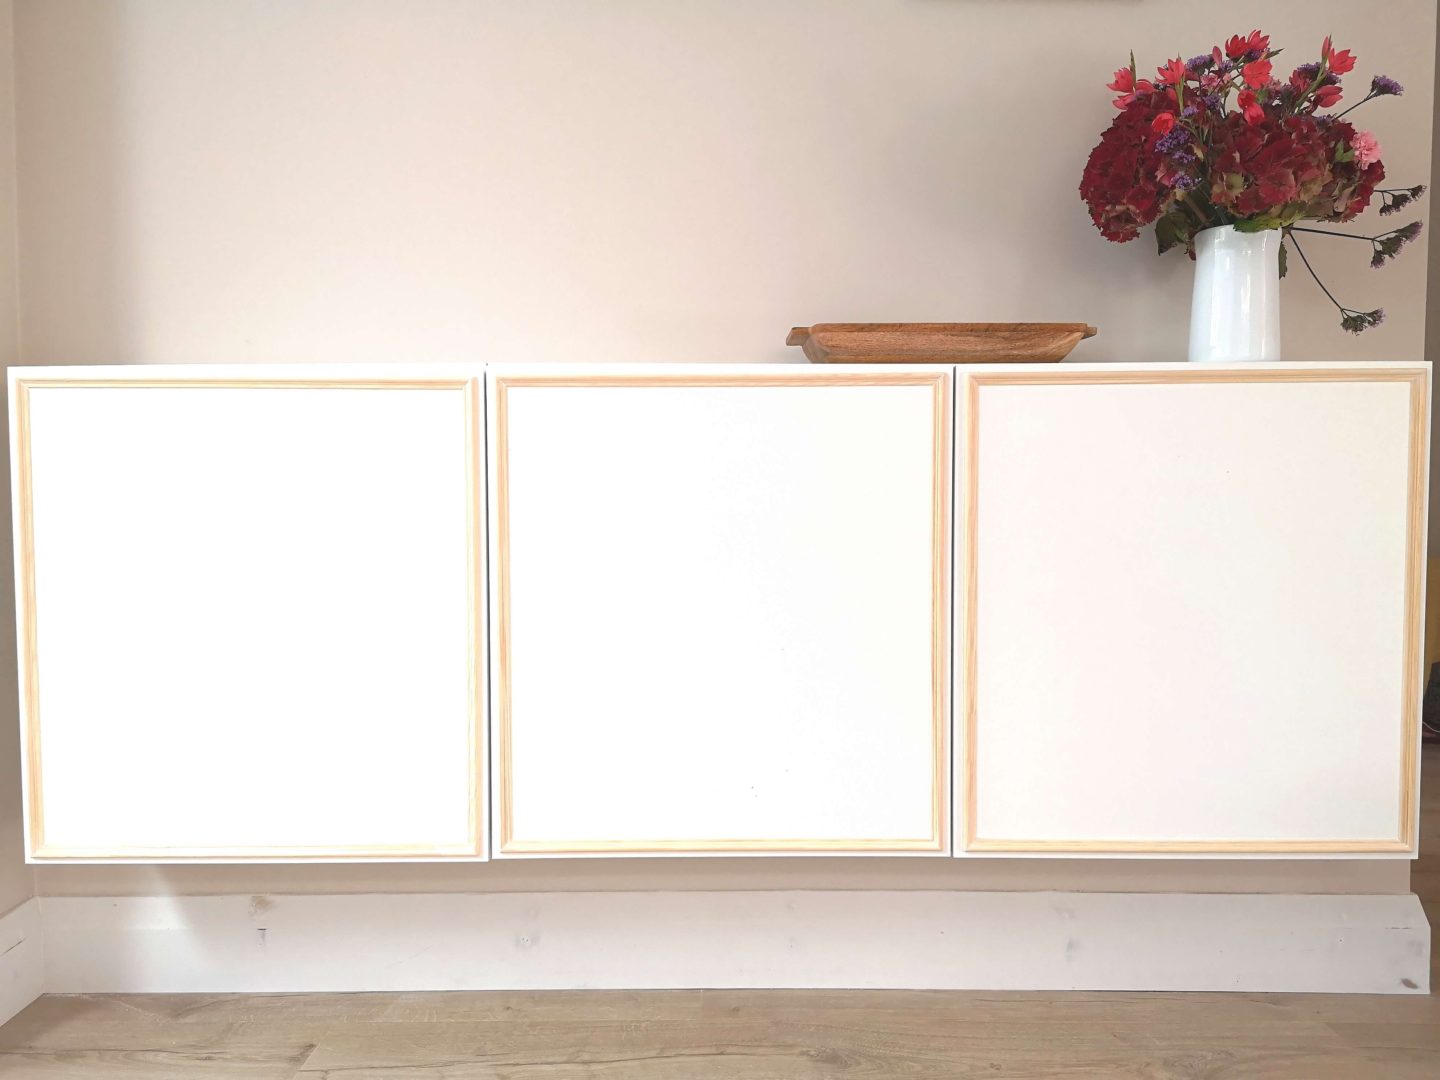
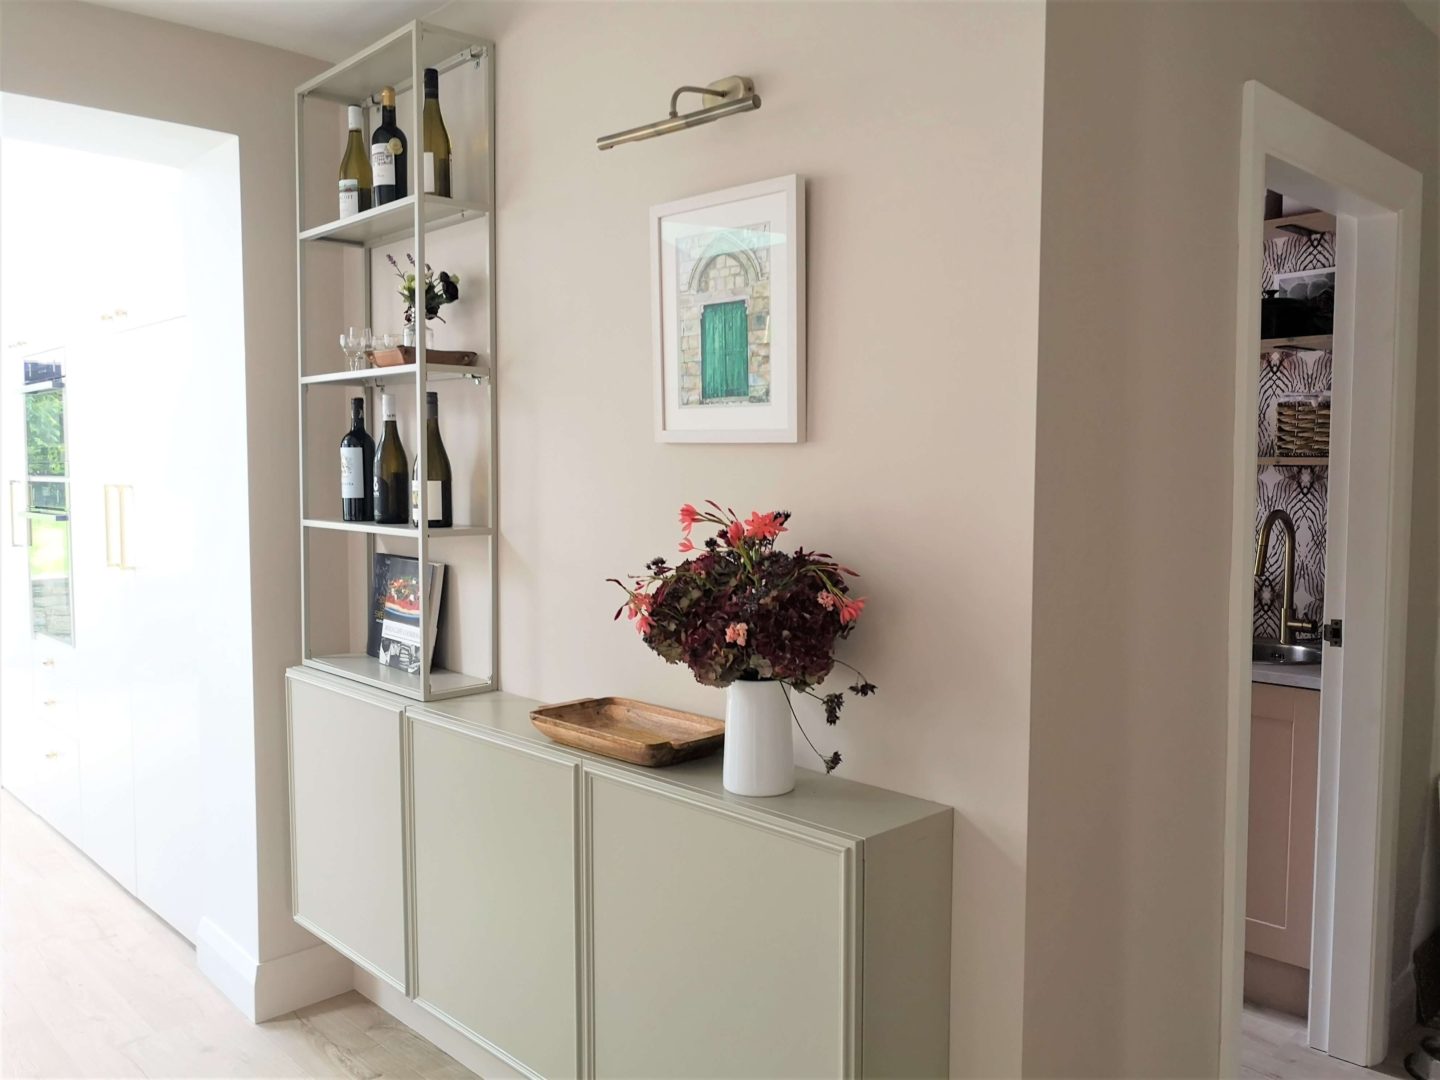
Update: Here they are all painted and looking gorgeous! You can see I also hung metal shelving above it to make it look like it was almost the same unit. Dreamy.
I can’t believe the reveal is next week!!!!! I have a bit more to do, including of course, painting this unit. But I cannot wait to show you how it has all come together! You should check out the One Room Challenge blog to see how everyone is getting on and who will finish on time. This is the first time I’m in with a chance of a finished reveal!! So see you next week!!

Hi there 🙂
Looks great!
How high off the floor did you hand them?