
The utility room is finally getting the attention it deserves! The walls were in pretty poor condition, but they’re now gleaming with a new coat of paint! I went in a bit of a different direction with the colour on the walls and boiler cover…red tones are not my go-to normally, but it looks amazing next to the wallpaper!
The major eyesore in the room was the gas boiler. I really wanted to cover it up, using some tongue and groove (T&G) panelling, but of course the boiler still had to be accessible. So I decided to make ‘an invisible door’ out of the same panelling, what do you think?
We bought a circular saw last year, but I hadn’t used it as to be honest, I was nervous of it! Turns out, I shouldn’t have been! As long as you’re careful, it’s so much safer to use than I thought – so give it a go people!!!!!! No excuses!
Right, time to figure out how I made this beauty!
Making the Boiler Cover Frame

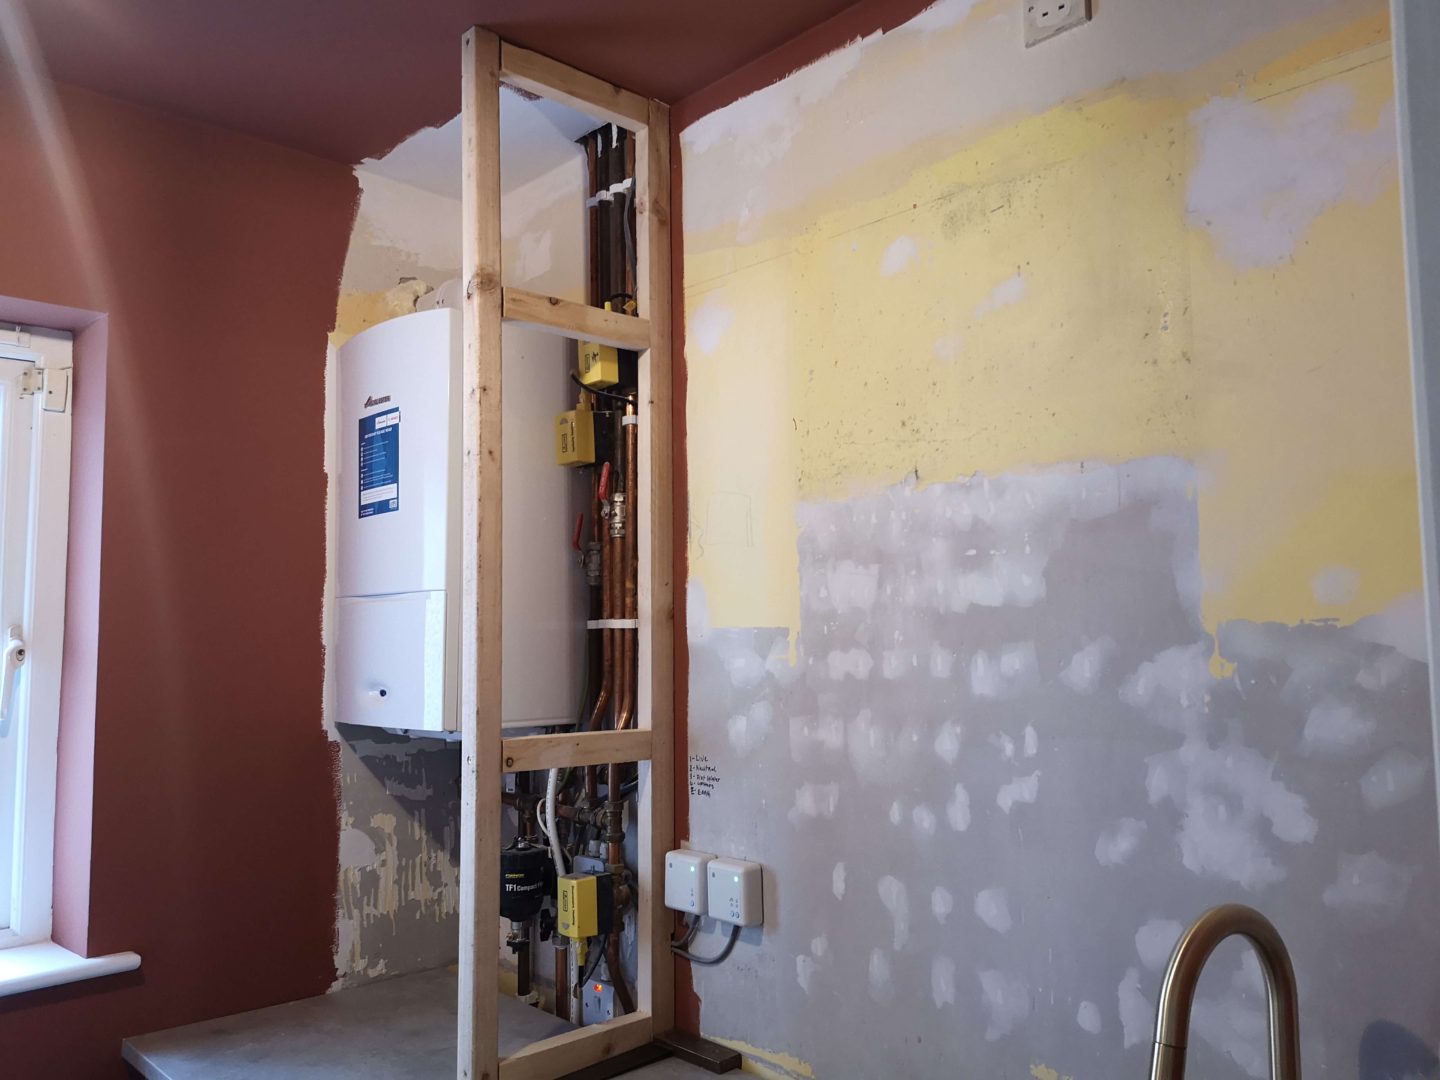
The frame is the most important part to get right, so take your time. I used 2×2 rough sawn timber to make the frame and I attached it to the wall using L-Brackets. I also attached the frame to the countertop and ceiling for extra stability. The wall were concrete so I drilled 70mm deep, added a blue rawl plug and screwed the bracket in place using 70mm screws. (Tip: When drilling, measure the length of your screw, measure back that much on the drill bit and mark it on the drill bit using tape. That way, when you’re drilling, you know exactly when to stop!)
Another tip to make life easier if you’re using panelling: Size the frame so that your T&G panels don’t have to be cut. E.g. The size of my boiler cover is exactly 7 panels wide x 5 panels deep.
A spirit level is essential for making sure sure everything is, well…level! 🙂 We happened to have a try-square too and I have to say, it came in really handy for making sure all the corners were lining up properly.
Finally, make sure your frame isn’t too close to the boiler. Air still needs to circulate around. My frame was 50mm from the front of your boiler and 200mm from the side. If you’re not sure, maybe ask your plumber to find out!
The Side Panels


Once the frame was complete, it was time to add the side panels. I wanted to avoid nails as, honestly, I was too lazy to fill all the holes! So instead, I used wood glue. I wasn’t sure if it would hold, so I also used double sided tape to hold the panels in place while the glue dried. Though, I’m not sure if it was really needed.
The tongue and groove was glued on along the side as well as one piece on the front corner. This was to ensure that both corner panels were perfectly in place for the L-shaped corner trim. The rest of the six panels on the front create the door which, of course, does not get glued.
The Invisible Boiler Cover Door


To make the door, I glued all the panels together and then also glued scrap pieces of timber across the back to make it even sturdier. I also added the hinges at this point. You can’t have a concealed door without concealed hinges and these ones worked great! They would have been very easy to install but unluckily for us, the timber panels had warped slightly. This made hanging the door particularly difficult. A two person job for sure! I definitely use MDF panels in the future to avoid this.
The Finishing Touches
I glued an L-shaped moulding on the corner to cover up where the T&G met. Instead of using a handle, I used this Ikea push opener, which I installed inside the door. You simply push the front cover of the panel and it pops open. There is now a little bit of surprise hidden storage under the boiler that I love! The final job was to give the boiler cover two coats of Foxmount by Colourtrend Paints. You can see all my original plans for this room here. This room was originally part the 8week One Room Challenge – which meant I aimed to have this room completed A YEAR AGO! I wasn’t to be, but I’m so happy with how everything is turning out. The shelves are the final bit of the puzzle and they are already built, so you’ll see them up next week!