
Every time we do something new to our master bedroom my heart lifts! This isn’t even an exaggeration! 🙂 For this wardrobe I used the same handles that I’d put on our Ikea Pax. So I knew they were definitely changing, but I wasn’t sure whether I was going to paint the laminate or not. In the end I decided to be brave and just go for it! I didn’t want anything too loud as I wanted our bedroom to be relaxing so I eventually chose Coffee Cake by Fleetwood paints. (FYI, The Paint Depot was the only place in Cork I could find to mix this paint for me!) I was a little nervous about painting laminate, as I had never done it before, so to save you some hassle I’ve laid out all the steps here!
Step 1

I removed all the handles and cleaned everything really well using a mixture of a some vinegar, washing up liquid and warm water. You could use sugar soap instead for this step. I know I was supposed to sand the laminate before applying the primer so that the paint and primer will stick to it a bit better. But I hate sandpapering so I bought this really good primer and I’m hoping that will be enough!
Step 2
After applying the primer, I then applied two coats of my colour in the Fleetwood Advanced Satinwood range, in an eggshell finish. I have to say the coverage was very good, it has dried really smooth. But what I love most about this paint is that you can recoat in 2hrs!!! I had never seen that before for a satinwood and I was really impressed. It meant I could do the whole wardrobe in one day! I gave a (little!) sand in between coats using a fine sandpaper to ensure a very smooth finish.
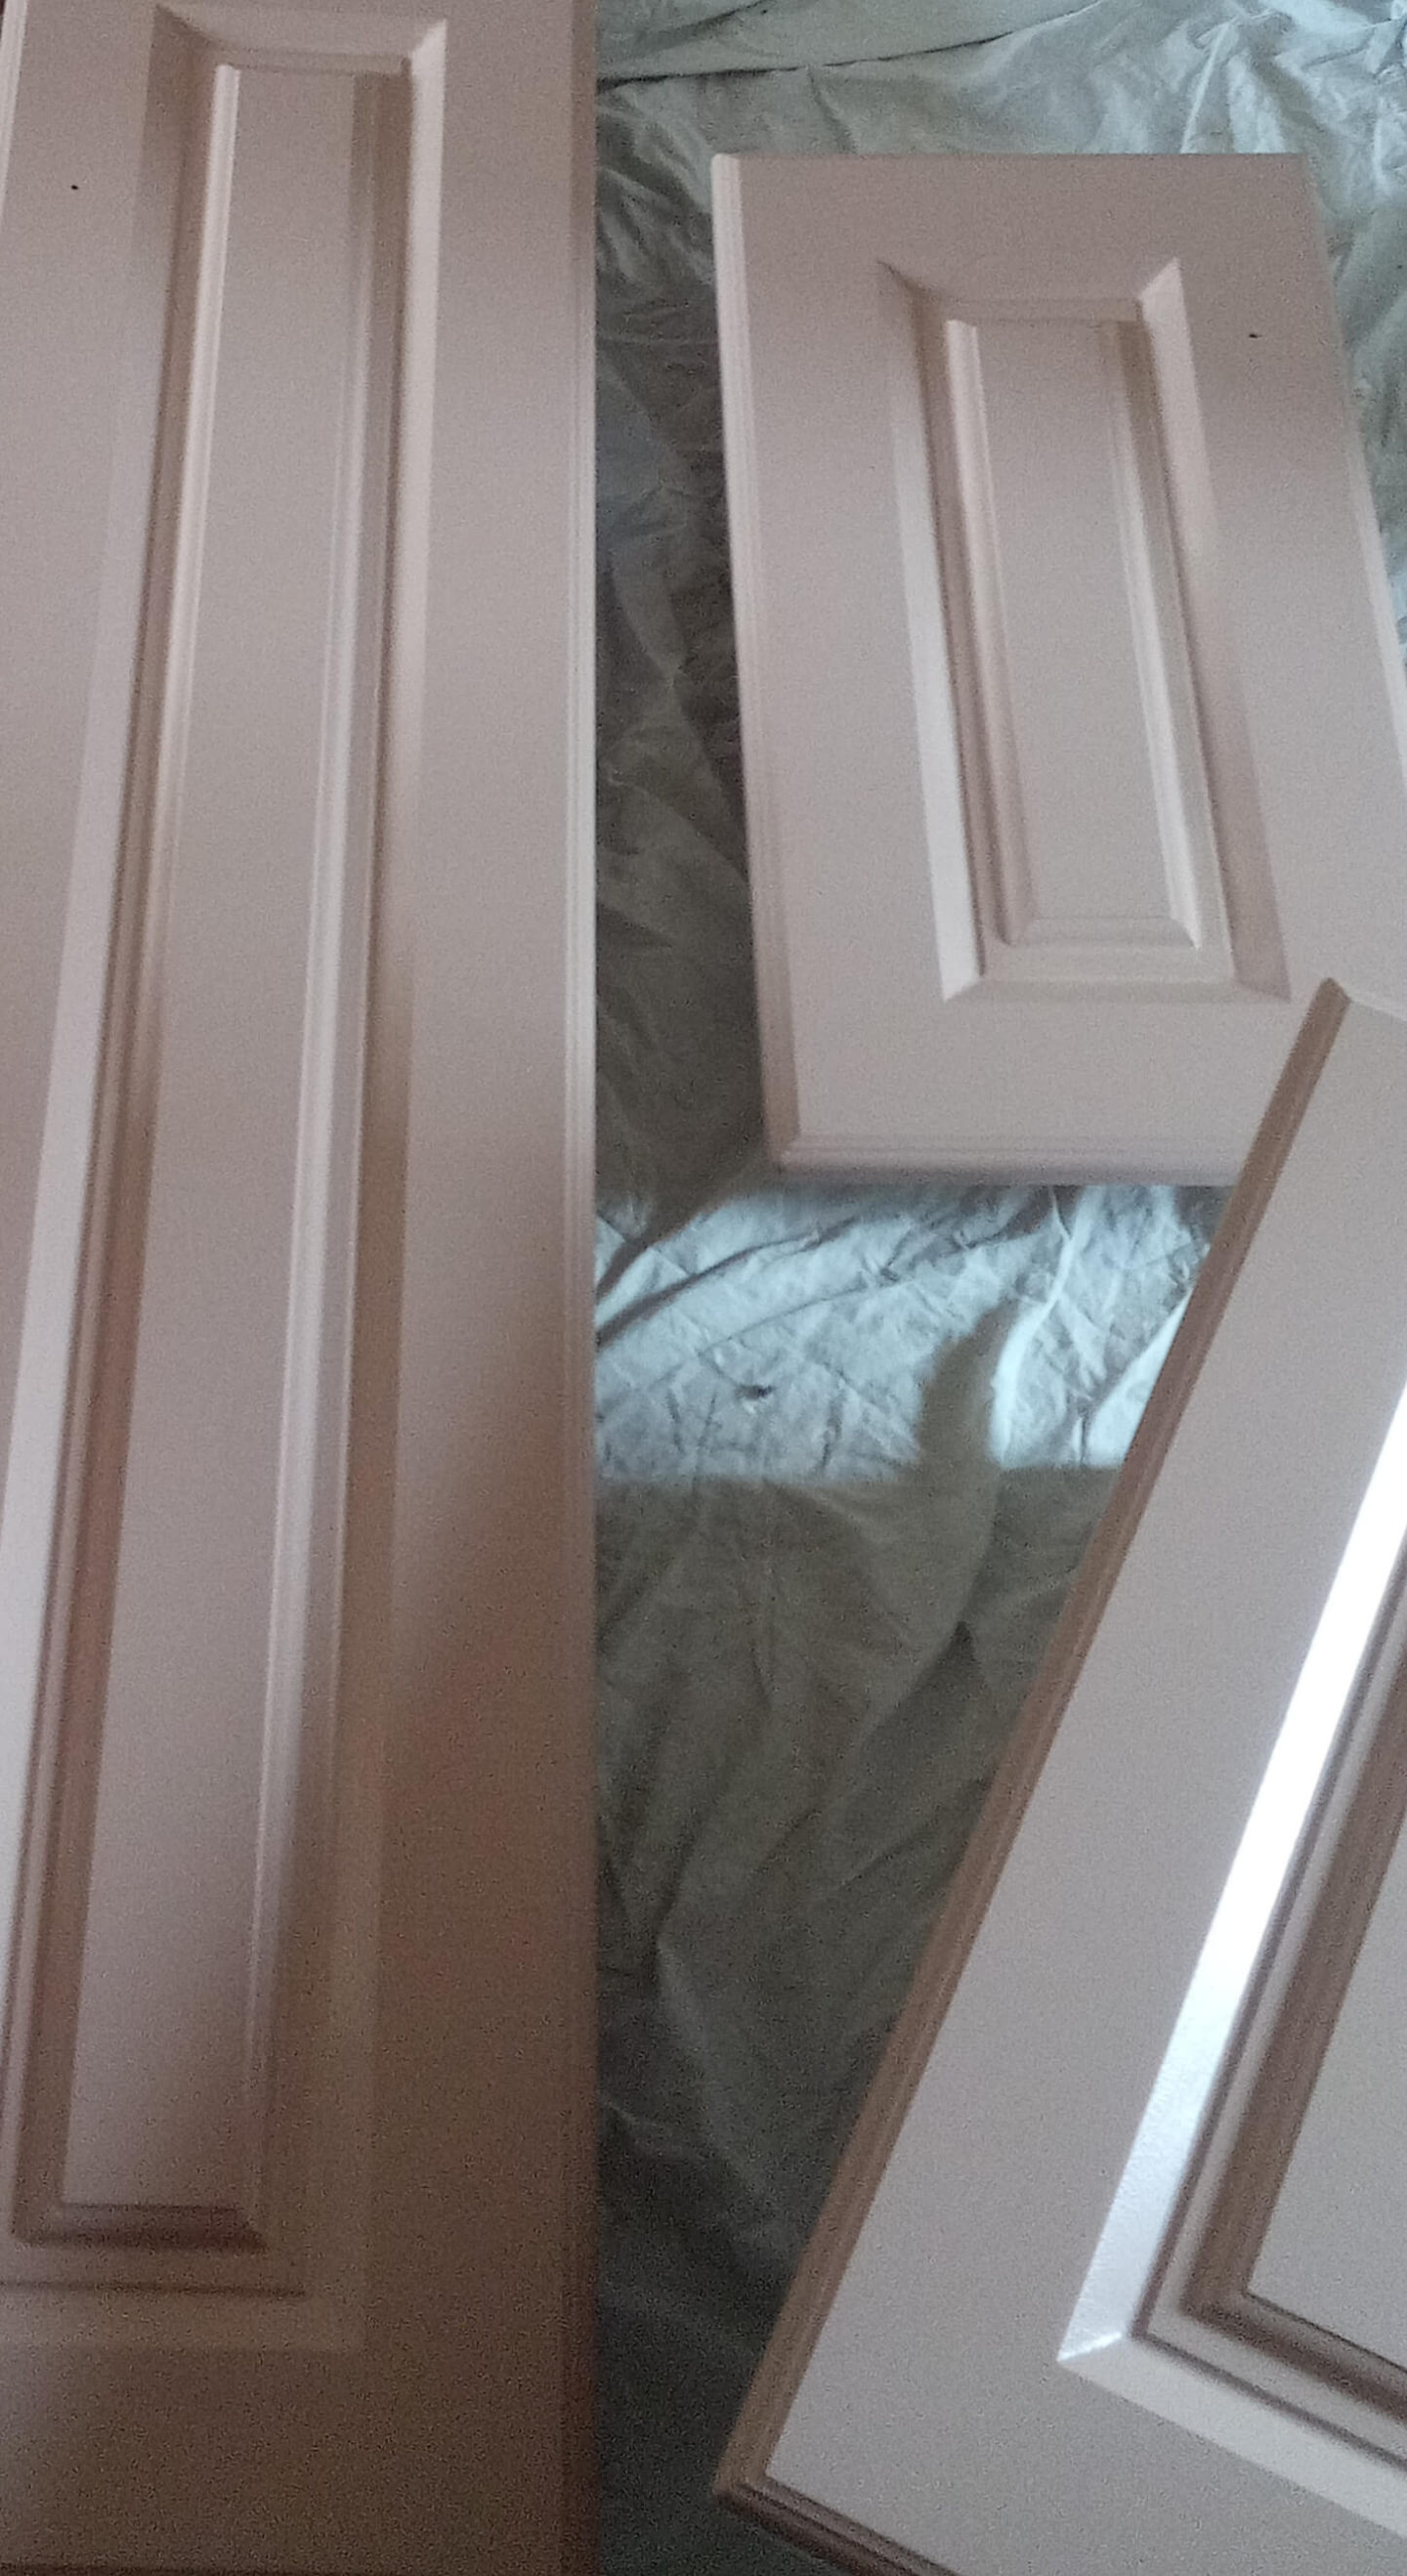

Step 3
I had to drill a second hole for the handles on each cabinet door and I meant to do this at the beginning but totally forgot! These handles look great, so much more expensive looking than what they actually were! They even came with the screws for attachment…I love a good deal! 😉

Step 4
Lastly, I decided to cover the shelf in the same marble effect contact paper as my DIY bedside tables. Again, it was so easy to put on. I used a credit card to rub out any air bubbles and masking tape to give it a little extra reinforcement at the edges of the paper, where it isn’t seen.
I’m now going to let the paint cure for about three weeks. This means I’m going to try not to touch it or put anything on it until it has completely hardened. Hopefully this will avoid any chips. Check my Instagram story highlights to see a few videos I took while I was doing this project! And because we all love a good before and after photo, I’ll leave you with this….

Before 
After
One Year On
June 2020: I thought I’d jump in with a year’s update to let you know that the cabinets are still perfect, not a scratch or mark in sight!!