
I won’t lie to you, assembling an Ikea kitchen is not easy. Actually, I should change that a little…securing an Ikea kitchen in place is not easy. Assembling the cabinets wasn’t very difficult, just time consuming. Like everything in Ikea, the instructions are foolproof if you follow them properly. Securing the kitchen to the wall to make it sturdy enough for a quartz countertop was above our DIY level though. Thankfully, we had a lot of help from a family member who would be more experienced and very importantly…had all the right tools!
After you have designed and ordered your kitchen, it normally gets delivered in two parts. The hinges and other small items by post, then all the rest in one truck. Delivery by Ikea was brilliant. We were able to choose a time slot that suited us. (We had to change the delivery day 3 times as work on the house was delayed! But each time, it took less than 3 mins to change it online, free of charge.)
Step 1
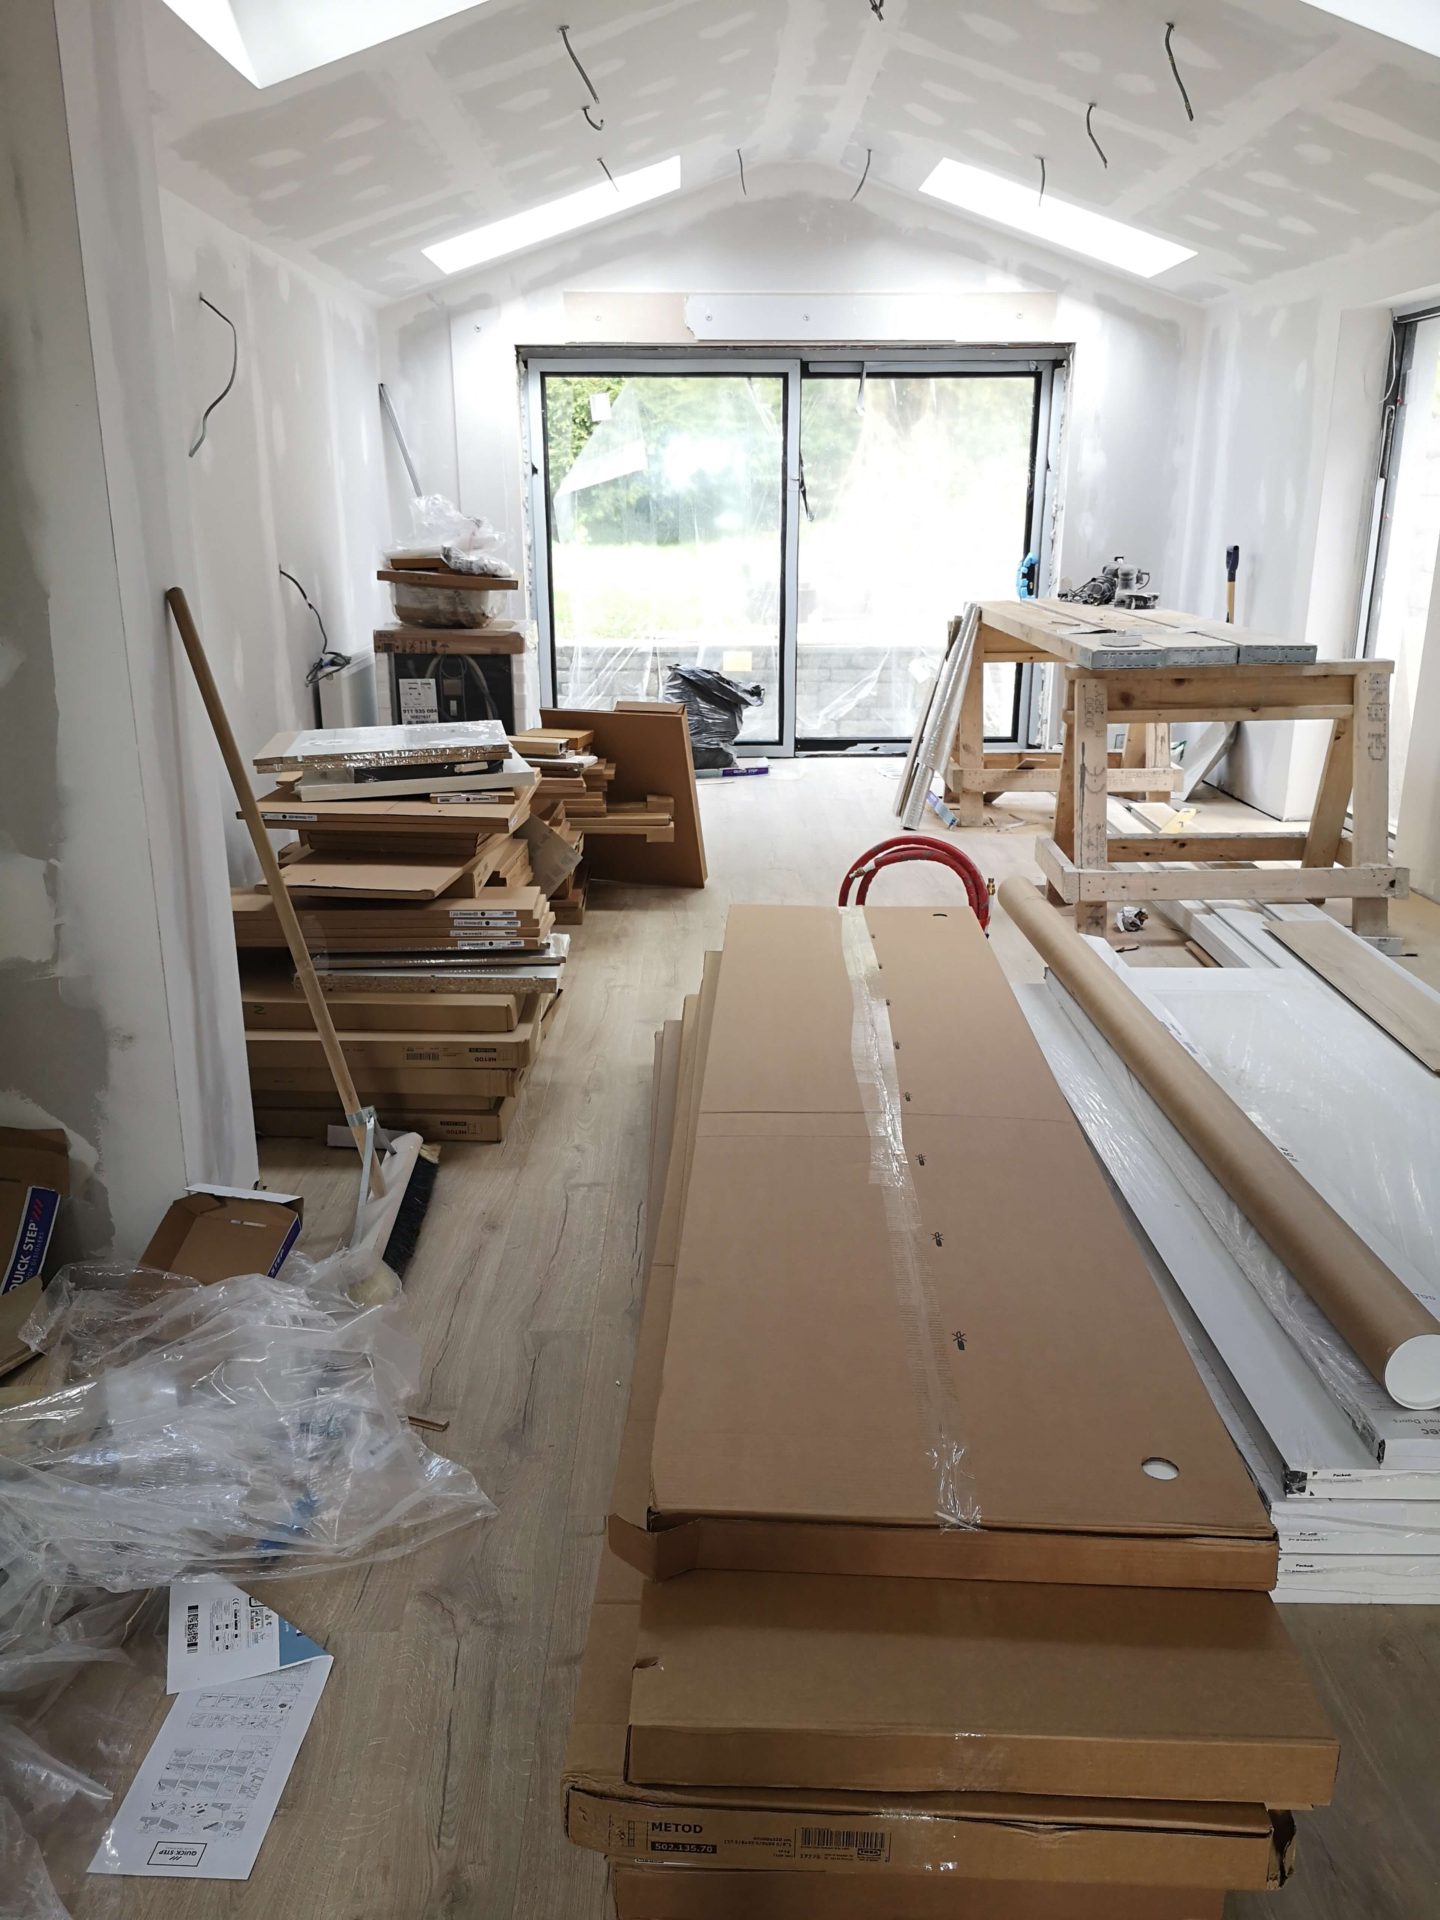
When it arrives, try to keep similar items stacked together…doors, shelves, drawers all in their own bundle. A kitchen is huge shipment and this is going to save you time when you’re assembling the Ikea kitchen later! Don’t worry if there is the odd item missing (ours was a drawer!) Ikea are very easy to deal with and will get you sorted very quickly.
Step 2


Ok, so next up choose a wall/area to focus on first and build the cabinet bases for that area only. (If you build ALL the bases first you won’t have room to swing a cat. They’re more bulky than you’d realise!) We chose black cabinet bases as the doors/drawer fronts will be black. If we chose white bases, you would definitely see a little white peeking through the finished kitchen! It took Trevor 10mins to put together each base cabinet using a power drill. Don’t even think of starting an Ikea kitchen without a power screwdriver/drill. It’s absolutely essential to this process, as is a hammer! While he did that, I spent 10mins finding the right box in the pile, removing the packaging and laying everything out, ready to to go!

Dry fit the base cabinets in place, to make sure that everything is level, using the longest spirit level you have. You’ll need to adjust the height of the legs for this. The legs of the bases are easy to raise and lower. I know they don’t seem like the sturdiest, but it doesn’t matter much, you’ll see why later! Usually, the height is 90cm from the top of the worktop to the floor.
Step 3
You will need a cover panel anytime the side of your base cabinet is exposed. The kitchen designer in Ikea will have explained this to you already. Cut it down to size using an electric saw…another essential tool to have for this project! If your panels are splintering when you’re cutting them, adding masking tape, to the top side of the wood that is to be cut, will help.

If the side of a cabinet is pushed against a wall, don’t forget you still need to add a cover panel between the wall and the cabinet! This is so the door can open fully without hitting the wall. We glued the panel on and screwed in two screws from inside the cabinet just to make sure it didn’t budge! Look closely at the picture above. To save money we chose a narrow cover panel for this. It’s not the depth of the base cabinet, but it doesn’t matter as the countertop will cover all the evidence.
Step 4


To attach the base cabinets to the wall you’ll need a suspension rail. You will need to screw in the rail securely to the wall, so that the top of the rail is level and 2cm lower than the top of your cabinet. Using the hooks on the back of the cabinets, simply hang the cabinets on the rail. Et voilá…cabinets that are perfectly level and secure! Sounds simple, but of course took ages to get everything very precise! Above, you can see a very blurry pic of me cutting the rail using an angle-grinder. First time using one, woo hoo! Of course, you could just use a handsaw for cutting metal too! Angle grinder not essential! 😉
Step 5

We had a problem with the tall base cabinets. The insulation we added to the apex roof lowered the height of the ceiling slightly. The 240cm base cabinets were too high!!!! Cue the panic!! 🙂 We could have returned the cabinets for shorter ones, but I really wanted the cabinets reaching as high as possible. So instead, we decided not the attach the legs to underneath the bases. You can see above we put two thin planks on the board to perfectly level the floor and also to add a little lift! It worked out perfectly! The back edge of the cabinets just hit where the ceiling and wall meet…ideal! Again, a cover panel was attached to either side of the group of cabinets. You can see we chose white cabinets for here as the doors will be white.

While the aim is for everything to be secured in place absolutely perfectly level, sometimes it can be off slightly when it’s not a new build. For the tall cabinets, we focused on getting all the cabinets level vertically. For lower cabinets, focus horizontally so the countertop is level. Screw the cabinets together for extra stability.
Step 6
Lastly, we put together the island cabinets. These blocks are screwed to the floor and give extra support under the cabinets. You can see in the instruction manual for the best placement. We added extra blocks underneath, just for extra piece of mind. Once the cabinets are in place, they can be screwed together back-to-back using these boards.

Right guys, I think I’m going to stop there as this post is getting pretty long! Leaving you with a reality check picture above! 🙂 I’ll write another post very soon about drawers, doors handles and the all important cabinet lights – one of my favourite parts of the kitchen!!!
If there is anything you think I’ve missed on assembling an Ikea kitchen, or if you have any questions, please let me know in the comments below!