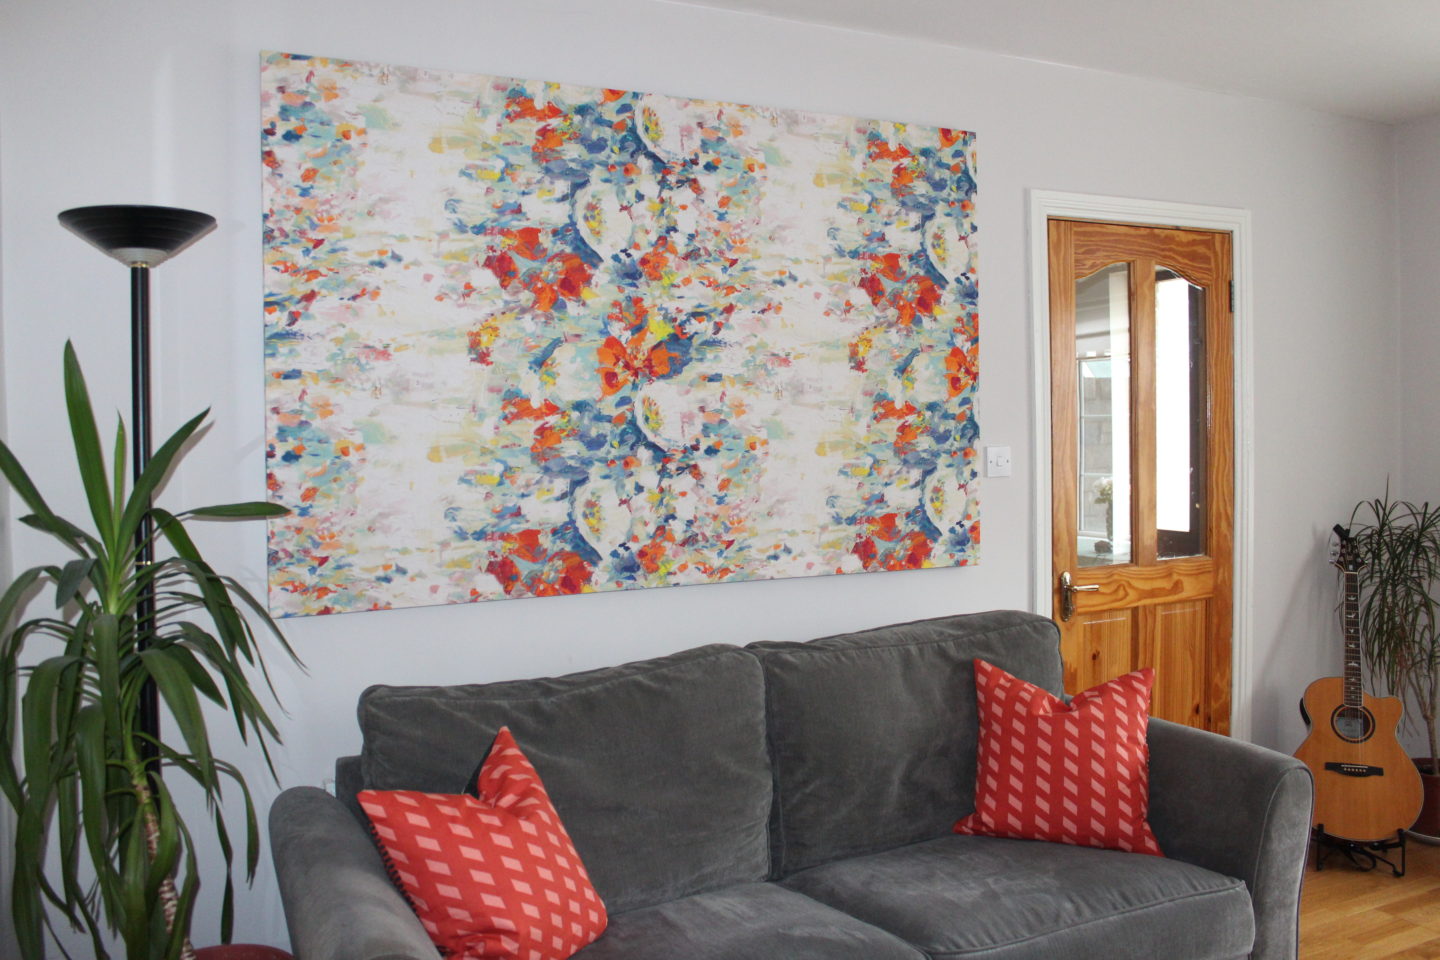
I fell in love with this fabric the second I saw it! I had already planned on making a piece of artwork for the living room and I knew this pattern would look perfect. For a pretty easy project, it made a huge impact!
If you’d like to give a go at making it, first you need to make the frame. I made mine rectangular in shape and the same length as the couch it was going to hang over. I cut four pieces of this timber to size and screwed them together using these brackets. I then stapled the fabric to the frame using a staple gun. Finally, I nailed in a picture hanger on both sides and using cord, hung it on the wall.
I was a little concerned about how heavy it was because I was hanging it on drywall with no studs in the right places, typical! I had visions of the whole thing falling on our heads as we were watching TV! But my mind is at ease after using one of these drywall anchors to hook the cord onto. It can hold up to 135lbs so I’m pretty sure that artwork isn’t going anywhere!
I do think it makes a difference what part of the fabric is stapled first so to make it easier for you, below is a link to a short YouTube video I followed. This shows really clearly how to staple the fabric and get a nice, clean finish.
Happy stapling!!
Update: If you’re looking for another simple diy art project I have the perfect one right here!
