In my last post, I covered how we assembled the Ikea base cabinets and attached them securely in place. The next step is adding doors, drawers and those all extra touches like pull out bins and lighting. This is the really exciting part!!!
Doors

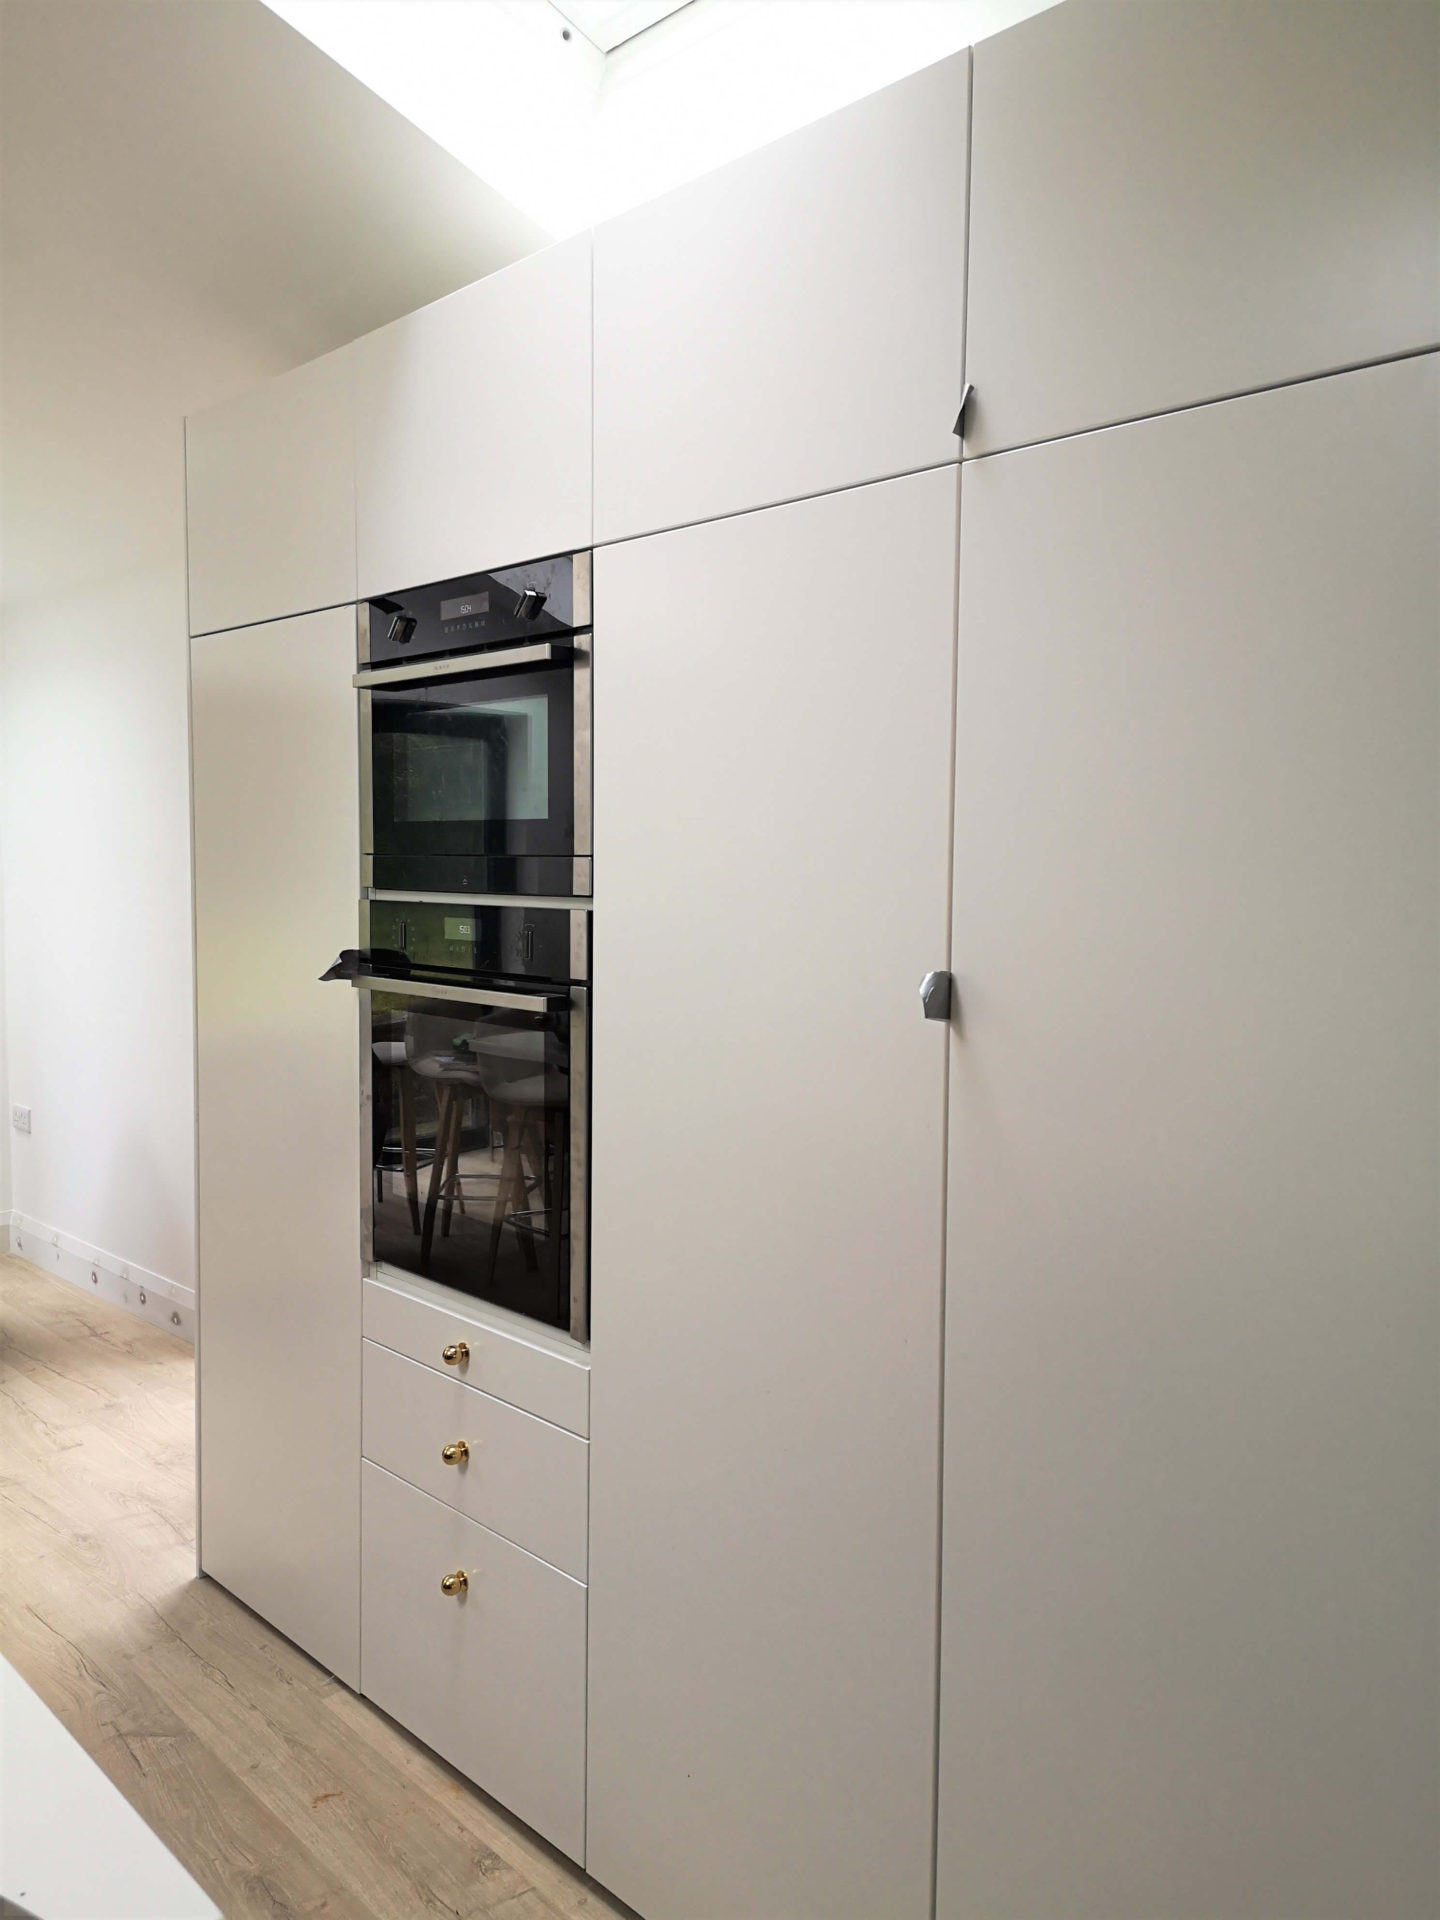
We have a mixture of doors. The black Kungsbacka fronts on the lower and island cabinets. On the four taller units we have Veddinge. The black will definitely be harder to keep clean and mark free, especially as the finish is matt. But I fell hard for the Kungsbacka when I saw it so we’re risking it! Loving it so far, but I’ll keep you updated! (In the pictures you see above, the plastic protective covering is still on the cabinet doors.)
Adding doors to this kitchen was actually ridiculously easy. For the lower cabinets we didn’t even need screws! Just make sure you get soft close hinges. Ours were Utrusta hinges. I won’t link them as different type hinges are required for different purposes, but your Ikea kitchen planner will sort that.
In Cabinet Lighting
I’m going to talk about the lighting next because I’d advise you to install the lighting before the drawers. We didn’t! 🙂 So learn from our mistakes. Though the drawers are very easy to remove if you do want to keep the lighting for later.

To install cabinet lighting you’ll need three different parts. The light itself (Omlopp), a driver to connect lights together (Tradfri) and finally, the power supply (Fornimma). They are all very easy to connect together and the light is held in place by attaching itself to the metal strip at the top of base cabinet, just like a magnet. So easy!! If the metal strip isn’t on your cabinet, or you are adding to lower drawers, the light can be simply screwed in place.

Don’t forget, when planning your kitchen to add sockets under countertop level. This allows you to connect all the lights together behind the cabinets and plug in the lights without any wires showing. It also allowed us to have a pop-up socket on the island countertop. (More on that in a future countertop post!)
Drawers

Drawers in a kitchen are the dream. Everything in a drawer is so much more accessible, so when in doubt just go for them! They are relatively easy to put together. All of our drawers were Maximera. Each cabinet unit held two medium drawers and a high drawer on the bottom. The front of the drawer is not included. You buy it separately. All of our drawer fronts were Kungsbacka black. You can attach the handles either before or after you install the drawers – with the exception of integrated appliances, which must be attached before. Maybe you’re like me and it’s taking ages to find those perfect handles. Don’t rush it…you can use duck tape like we did for a few months!!! 😉 I’ll talk about the handles more in next week’s post!
Bins

I’m giving our bin cabinet it’s own little section because we’d be lost without it. When we ordered the Ikea kitchen this bin system wasn’t available. I had looked at other bin systems but everywhere was crazy expensive – I’m talking approx €300!! I refused to pay that, so we were left with the bins like this for a few months while I searched for a different idea. As we wanted countertop space next to the sink, our bin cabinet had to be 600mm in width. This might seem like a large space to give to bins. And it is! But we’re really happy with how we used the space!
A few months after installing the kitchen, Ikea started selling a new bin system…the Hallbar. The bins sit in a high drawer which has the cabinet door as it’s front. The bins are held in place with this support frame which also attaches to the cabinet door for extra stability.


There are different configuations available but for our cabinet we choose to have two large bins. Doing this allowed us to have a little space at the back which this storage box fits perfectly. It’s not the most accessible but perfect for long term rubbish items e.g paper to be shredded, smaller items to be brought to the recycling centre, like batteries. It also allowed us to put in a hidden drawer inside (with this white drawer front). This holds all glass recycling and everyday papers/post. So handy!!
Oh and for anyone living in Ireland, these bin bags fit perfectly! It drives me nuts when they don’t! 🙂
Anything Else?
When you’re finished installing everything, you can fill the inner cabinet holes with these cover caps. You can get them in black or white to match your base cabinet. I’d recommend leaving it a few weeks for those cabinets with shelving. This is to make sure you’re happy with the heights of the shelves and won’t be changing them. Removing the cover caps would almost certainly damage the area a little.

So there you are folks, I hope this posts helps! Any questions, just add them to comment section or DM my on Instagram.